No Doubt your old bolts and screws are rusted. Mercedes do supply a kit for about £70 to replace these, however a similar kit that does the job perfectly can be found here for a fraction of the price:
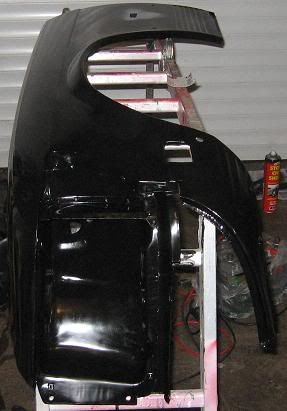
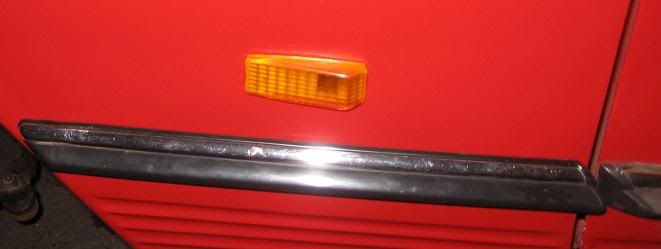
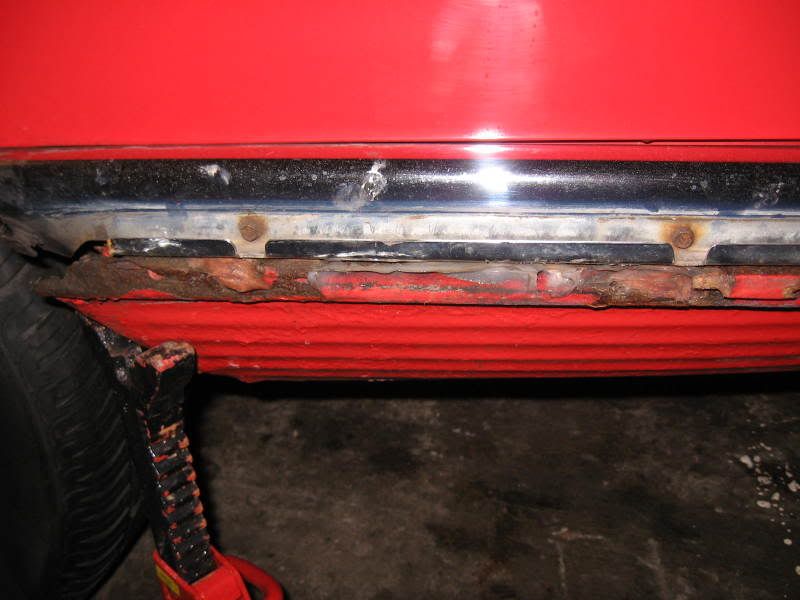
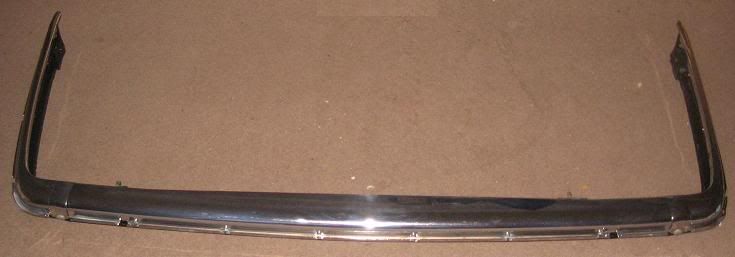
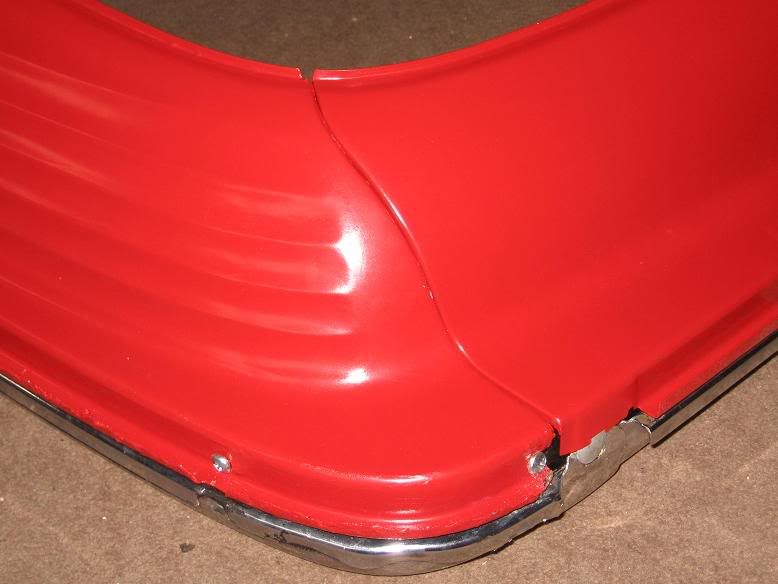
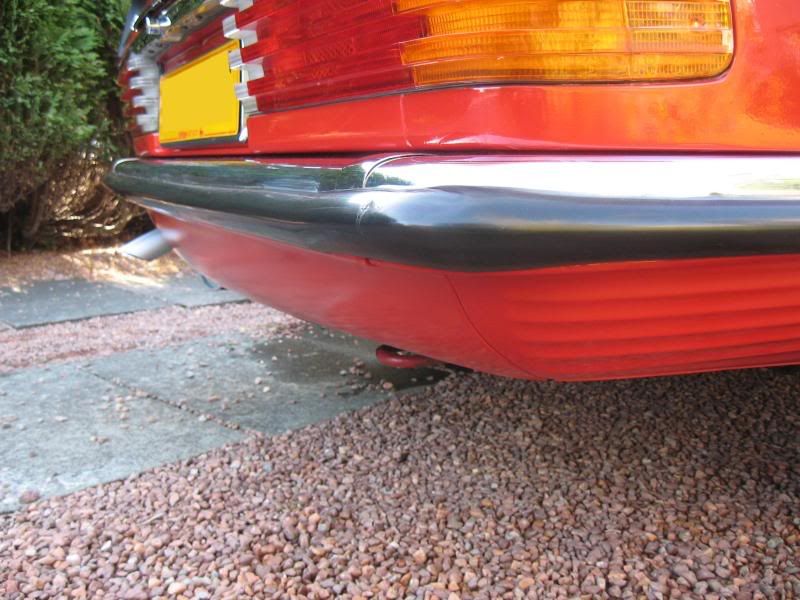
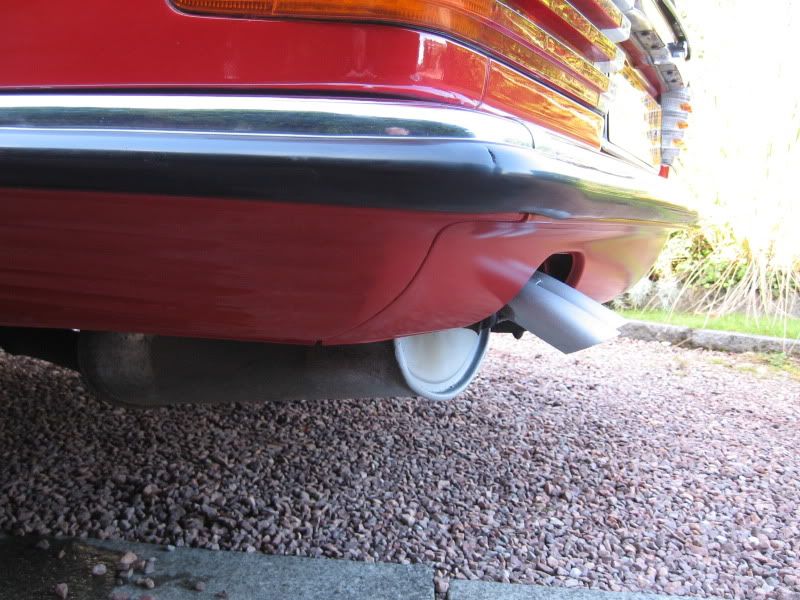
MERCEDES R107 SL FRONT & REAR BUMPER BOLT REPAIR KITThe rear bumper didnt look too bad to begin with:

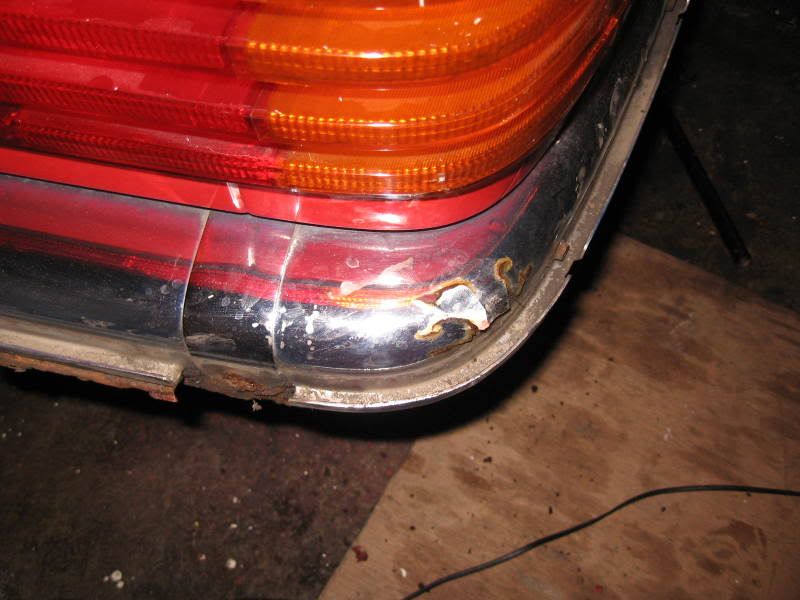
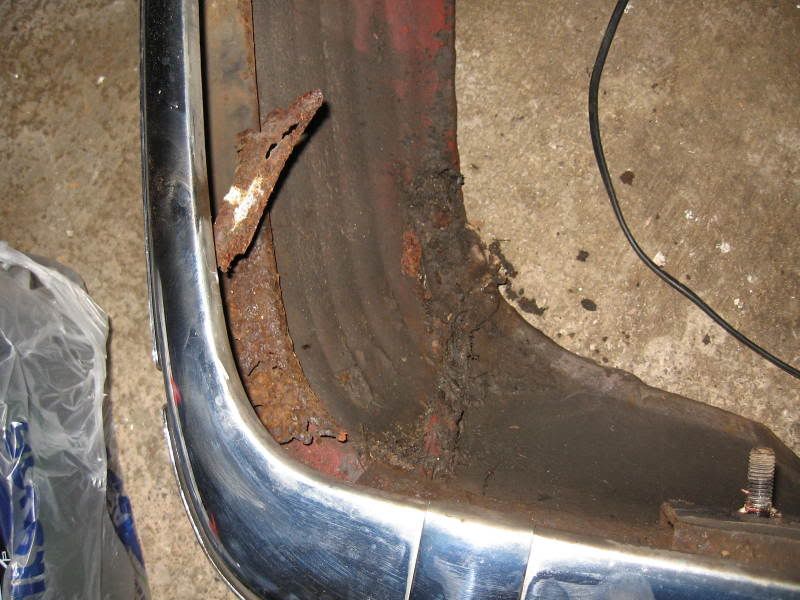
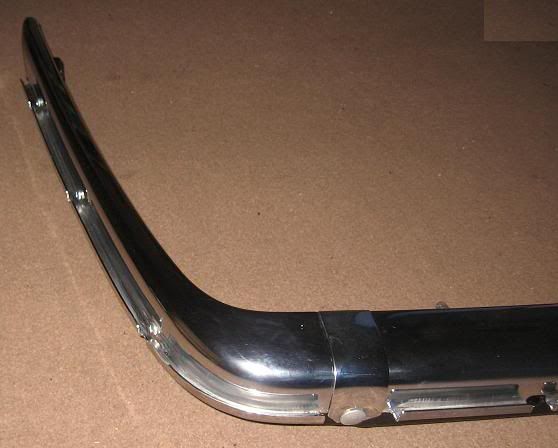
The one main obvious problem with the bumper was a rusty/flakey piece of chrome:

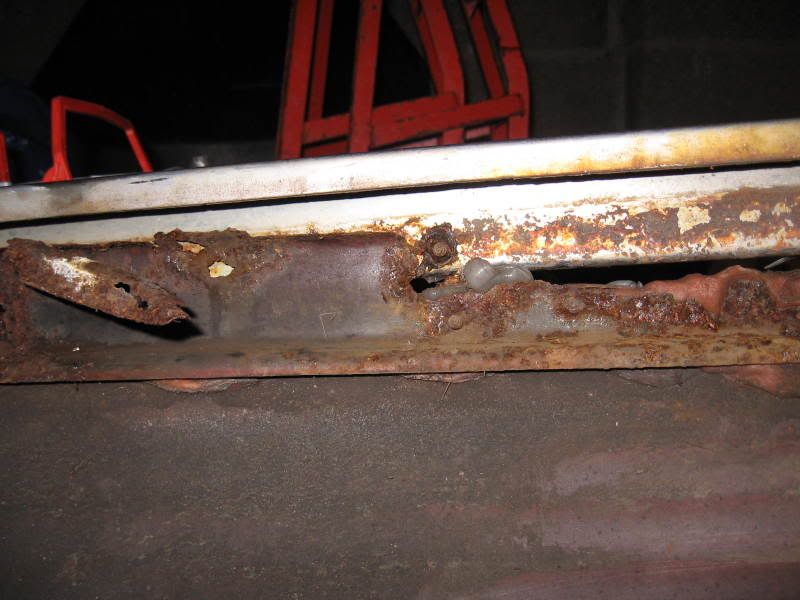
As with many 107's, the inner bumper stiffeners were also badly rusted, so the whole bumper was removed and dismantled down to its individual parts.
This was quite difficult as the bolts on either side of the car had rusted on. A lot of elbow grease later and the bumper was off the car.
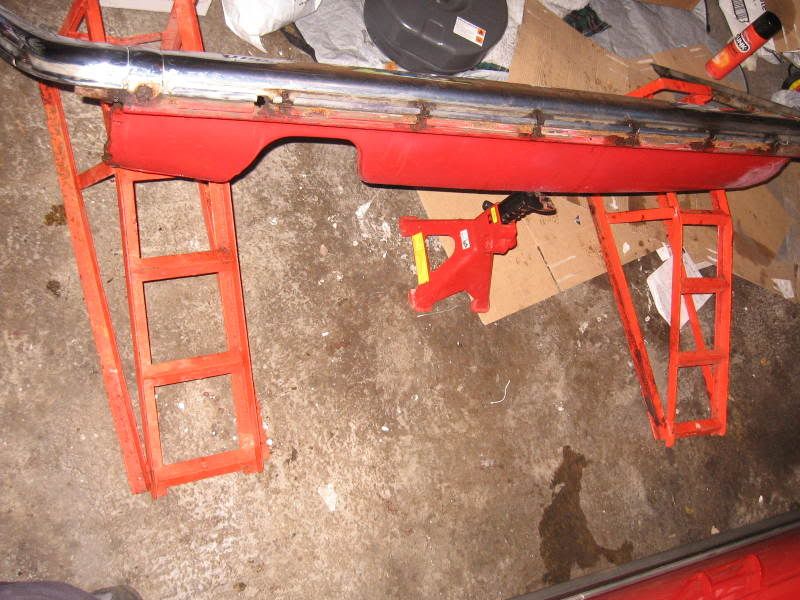
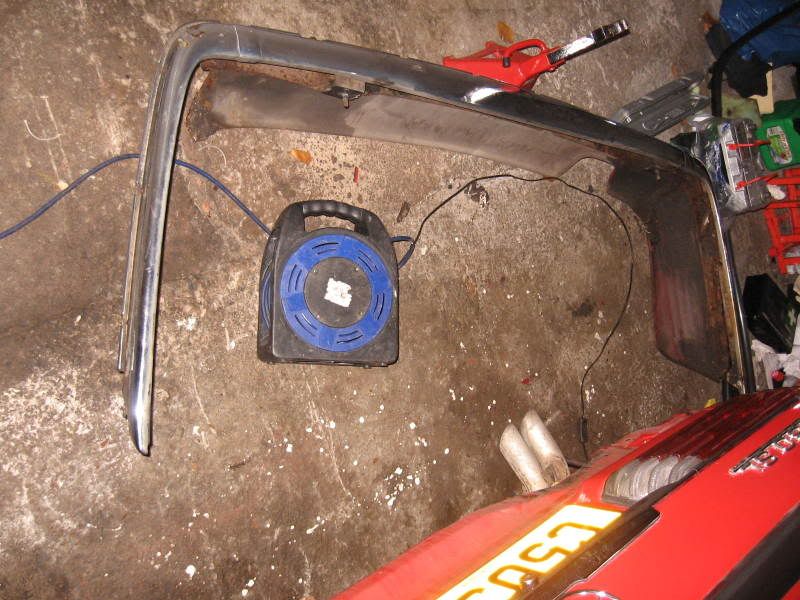
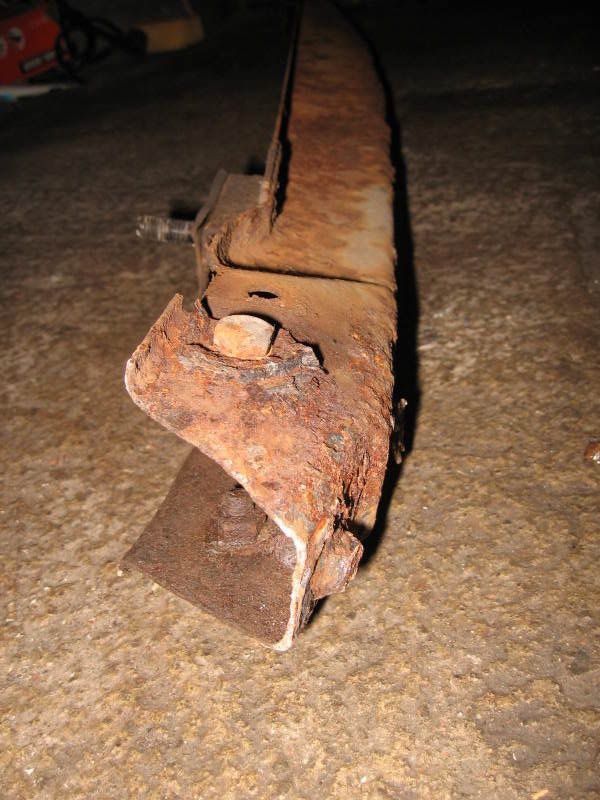
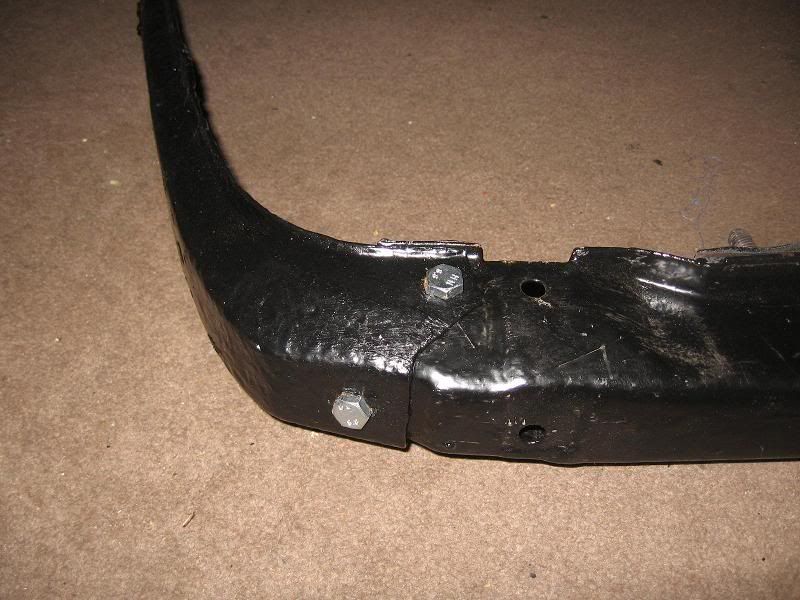
Once it was off I could see the extent of the rust that was hidden by the rubber strip:


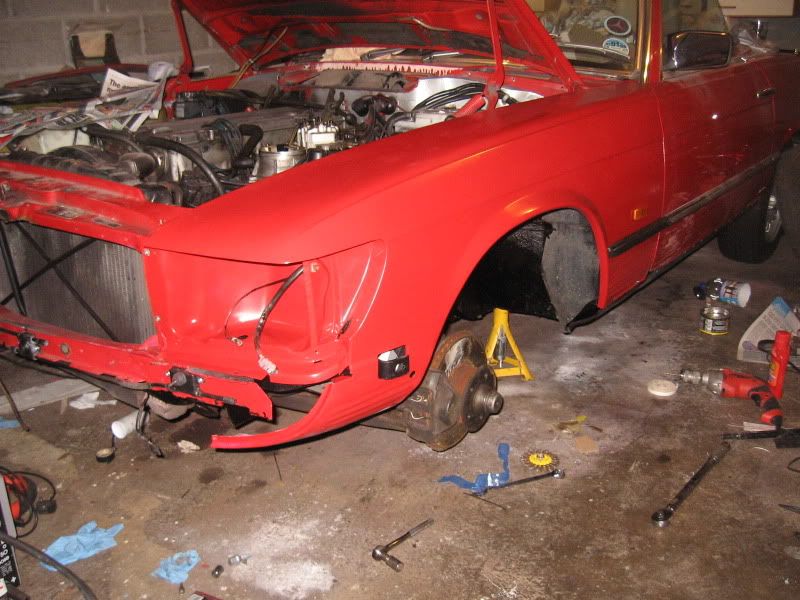
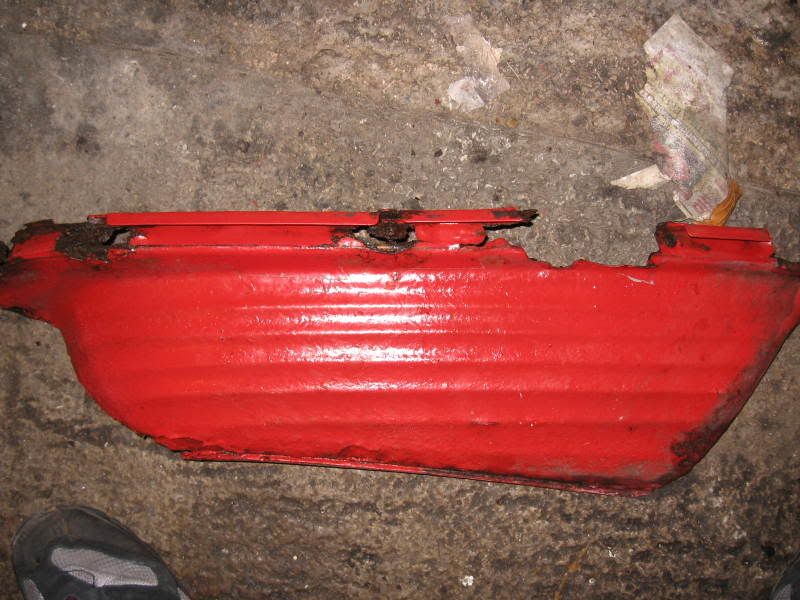
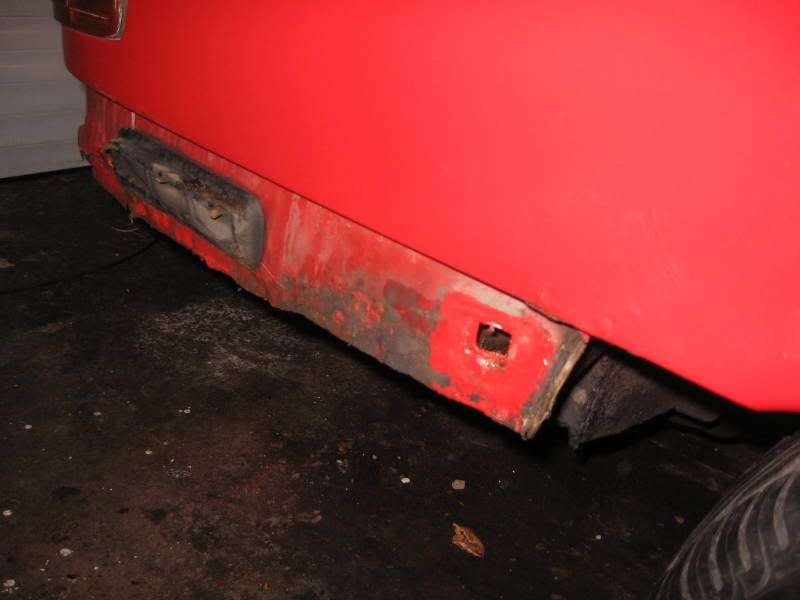
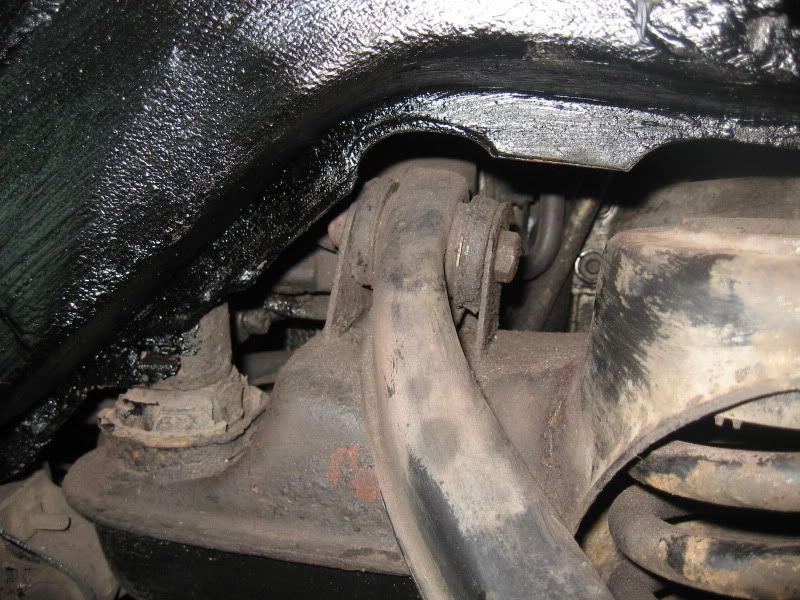
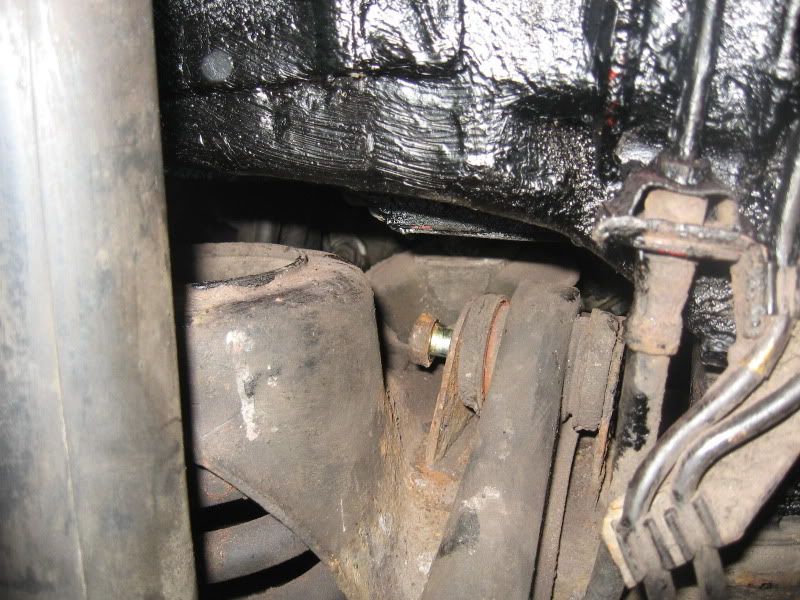
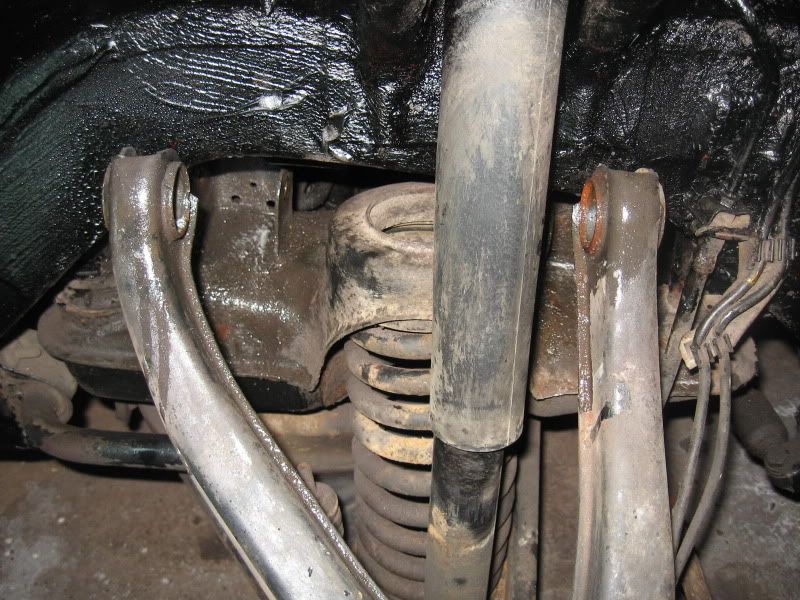
The car underneath the bumper also had suffered rust. This will be repaired seperatly:

Now the bumper was off the car, it had to be dismantled. This was very difficult as all the bolts and screws had rusted on. The only way was to cut them off with an angle grinder VERY carefully as not to damage any surrounding trim/chrome that I wanted to keep.
The two side stiffeners were non-existant - only the end pieces were still there - it appears they had rusted away and a previous owner had bodged the bumper back together with fibreglass. The rubber was the only thing holding on the side valance panels!! They usually screw onto the stiffener.
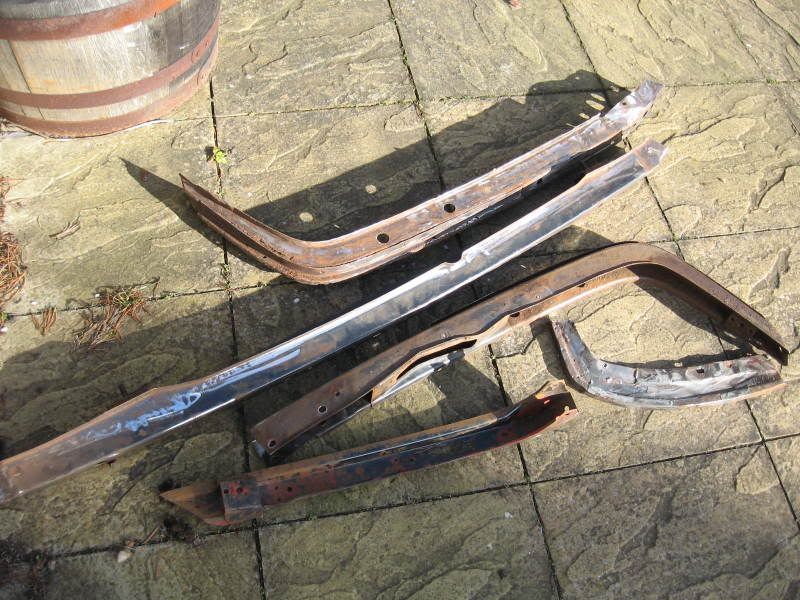
Here are some nasty pictures of what I found once the bumper was off the car:


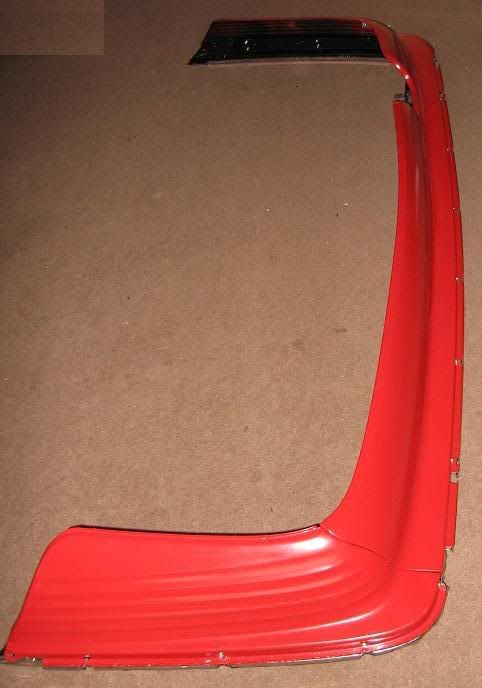
Eventually, I had the bumper in pieces. The only things kept over from the original parts were the centre stiffener (even that required a new metal end welded on), the centre chrome, and the n/s chrome. Everything else had to be replaced with either new parts or good 2nd hand items.
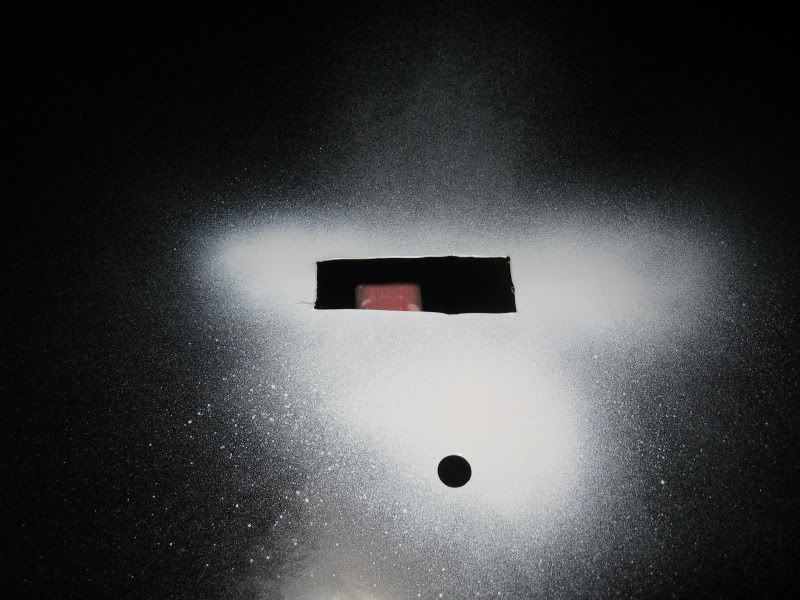
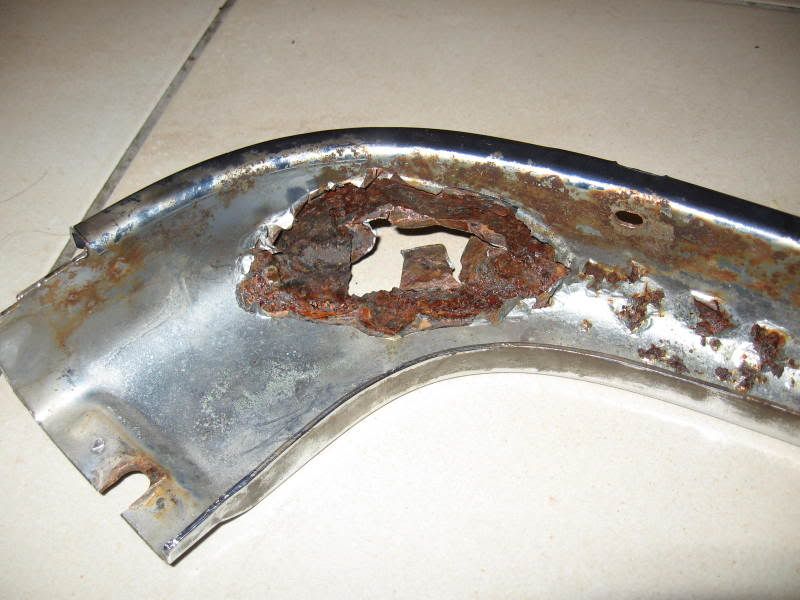
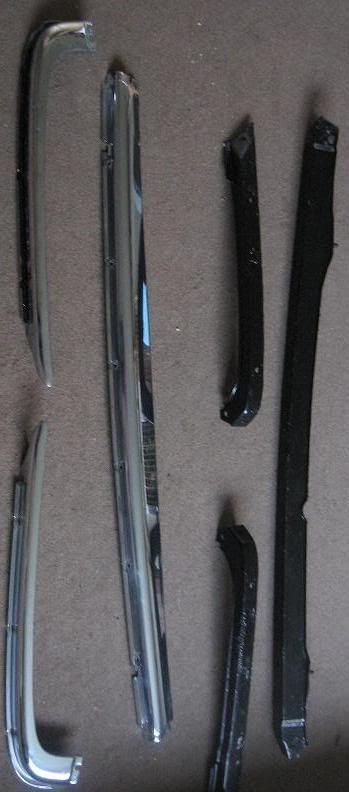
As mentioned, one side chrome was completely rusted though, shown in the picture below:


I explored the possibilities of repairing the rusty chrome, but the cost of a re-chome was more expensive than I managed to source a good 2nd hand part for. All the chrome was then fully cleaned up to shine like new and then treated with POR-15 on the reverse in an aid to prevent any future rust.
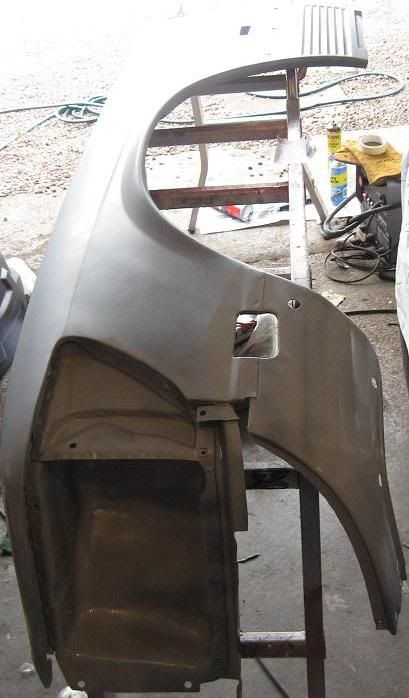
The central inner stiffener was ground back to as much good metal as possible and then rust treated and coated with POR-15 after a small repair to one end piece. Replacement left & right side stiffers were purchased, also POR-15'd and then all painted with black hammerite for the factory-fresh look:

to:

to:

The bumpers were then ready to be put back together again. A set of new bolts and fixings were used as all the old ones were rusty and most had to be cut off to be removed.
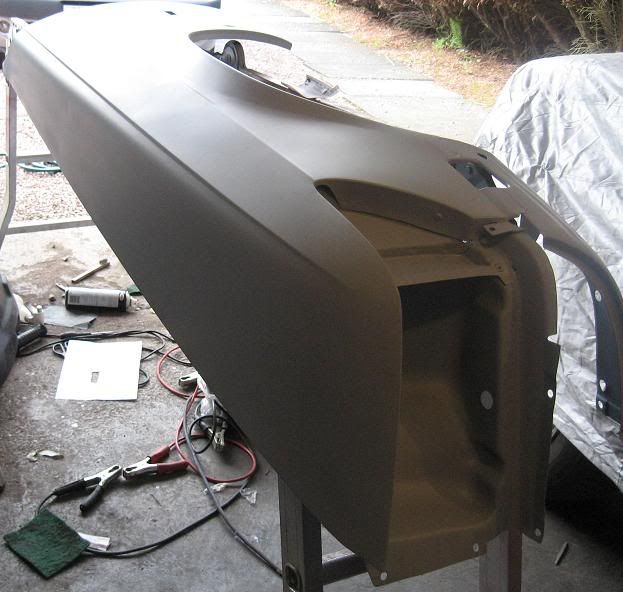
To begin with, the three sections of inner-stiffener were bolted together:


Then the three chrome pieces were fixed to the stiffeners:

Then the covers that join each chrome piece were added - two of these on the rear bumper:

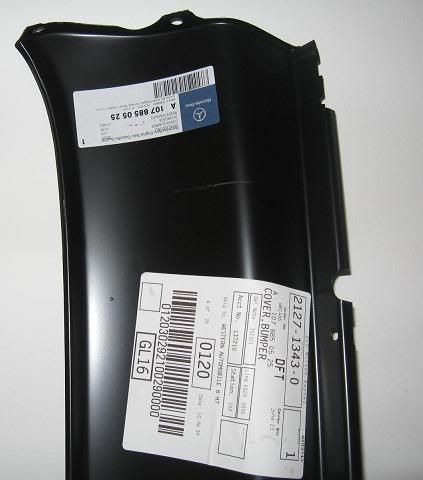
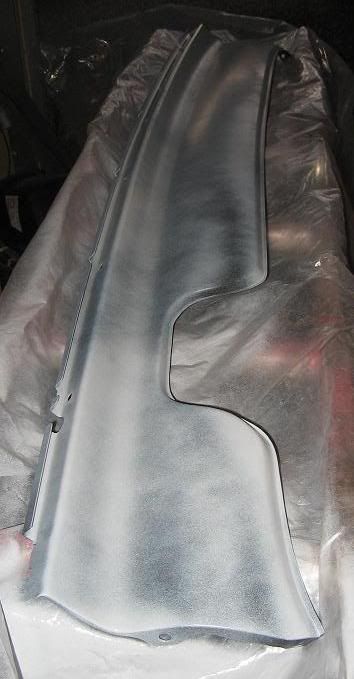
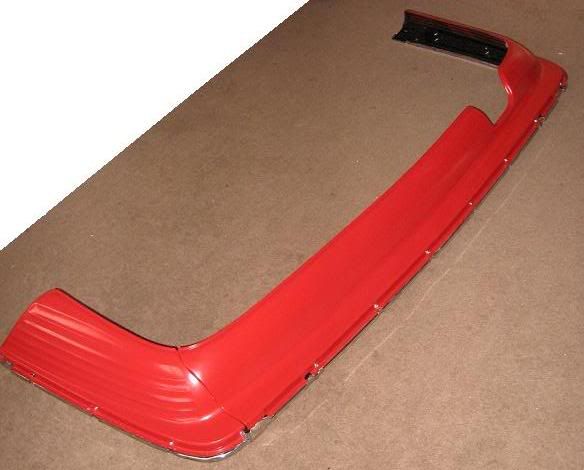
A brand new genuine Mercedes centre valance panel (A1078850525) was purchased and a set of "as new" side panels purchased. The old panels were too far gone - see pics above!). These were all primed in Etch Primer and the side panels were also coated in POR-15 on the reverse side as these take quite a weathering from the rear wheels.
In progress of being primed:


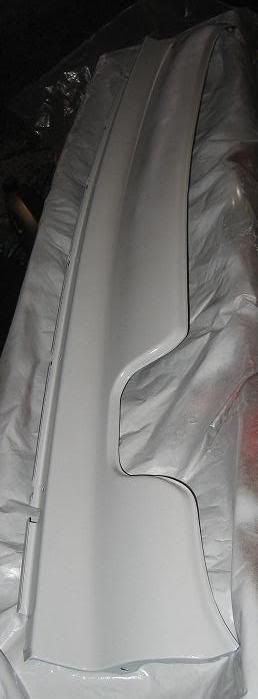
Then sprayed in Signal Red:

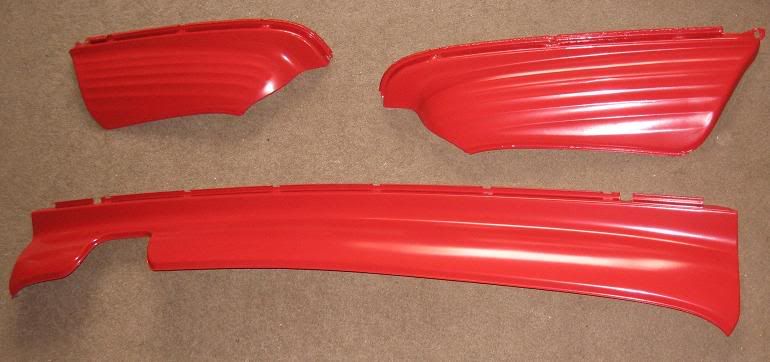
And then bolted onto the bumper stiffeners:


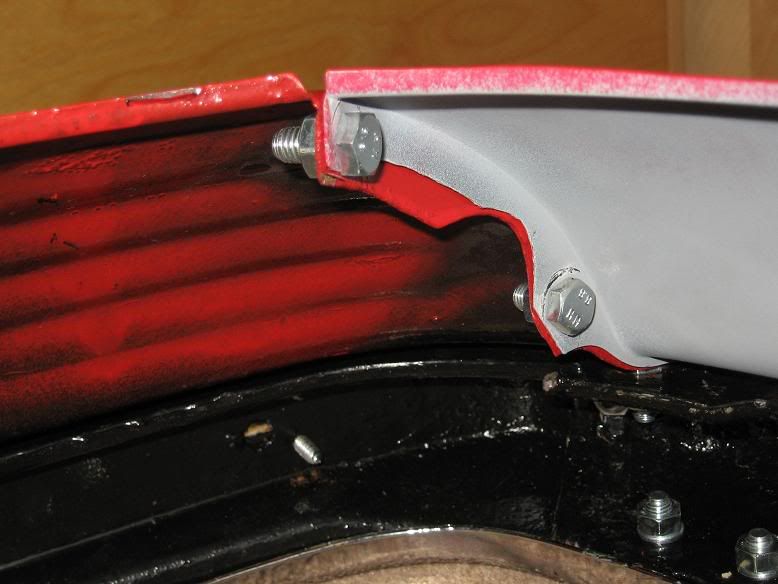
These were treated with POR-15 on the reverse and then coated with underseal to help prevent future rust.


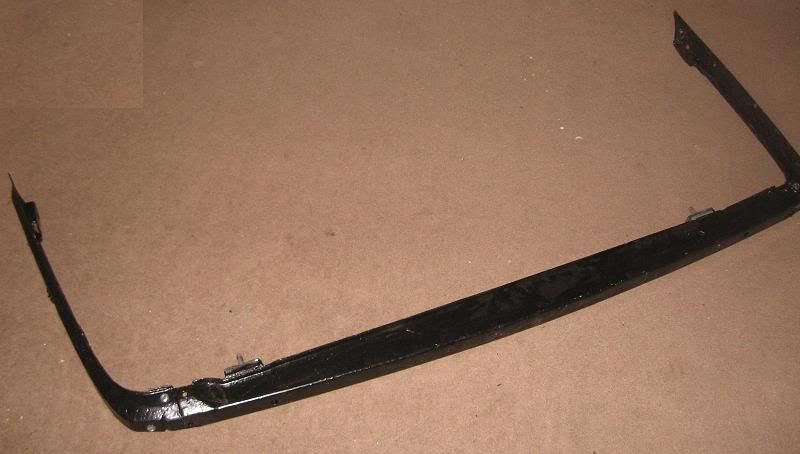
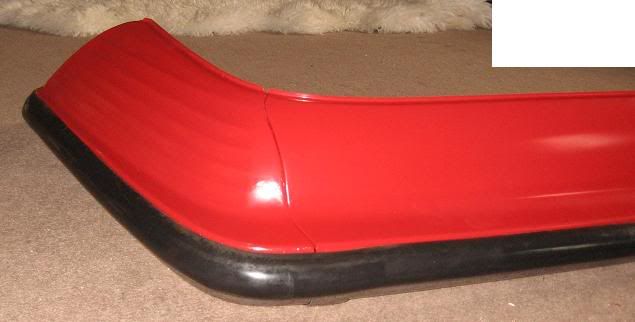
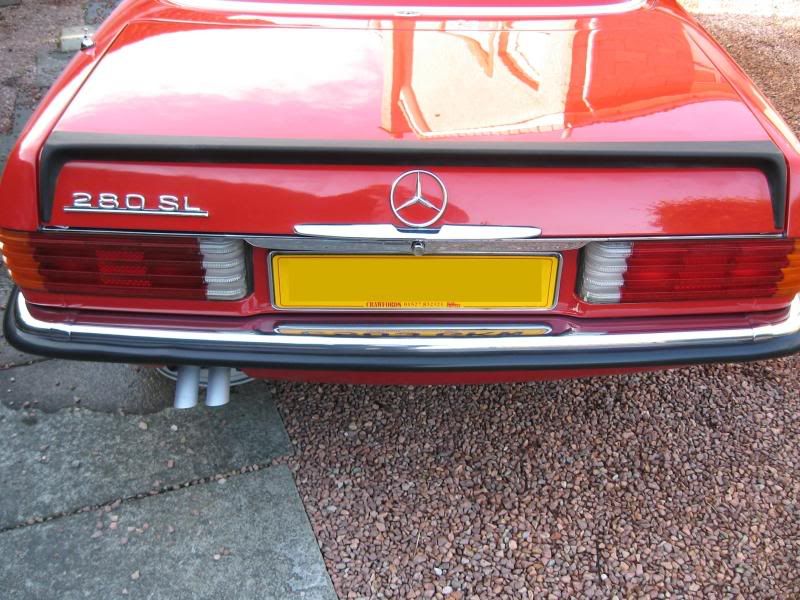
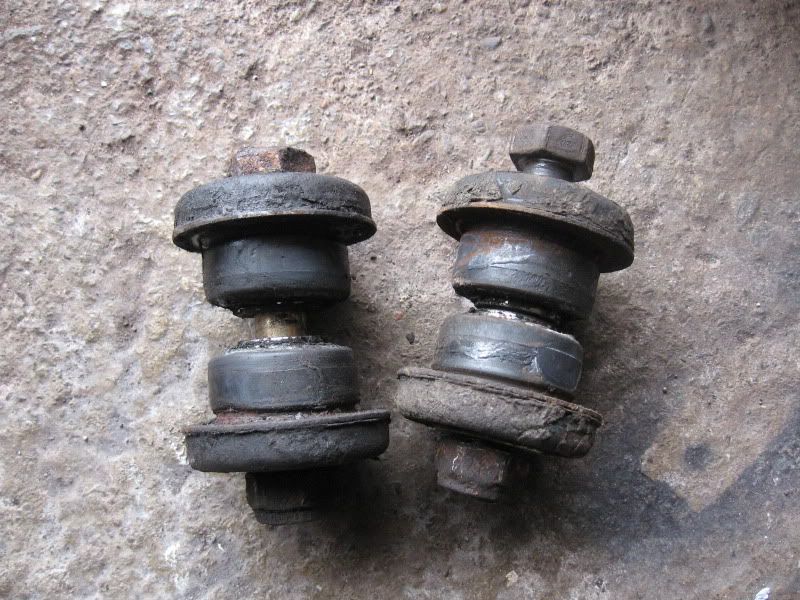
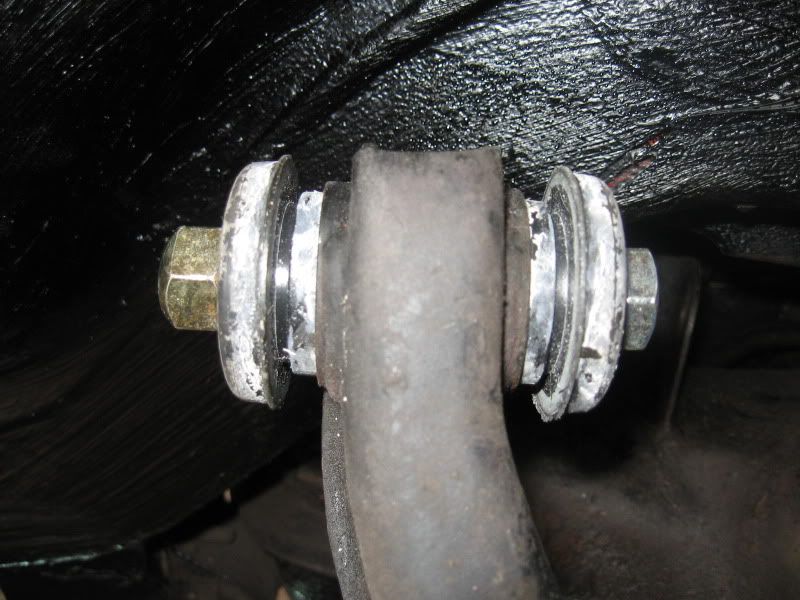
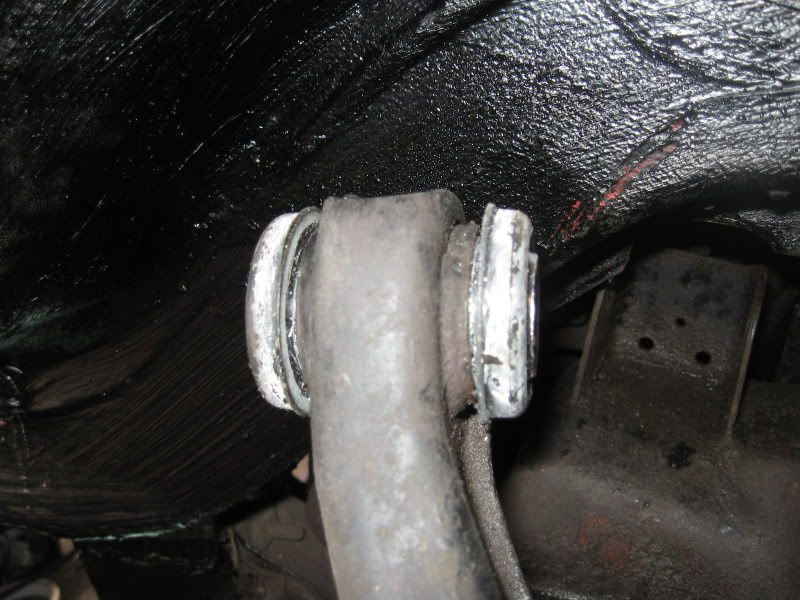
Finally, the rubber strip was fixed on, with a captive bolt on each end to fasten it and the bumper is complete, ready to be bolted onto the rear of the car:


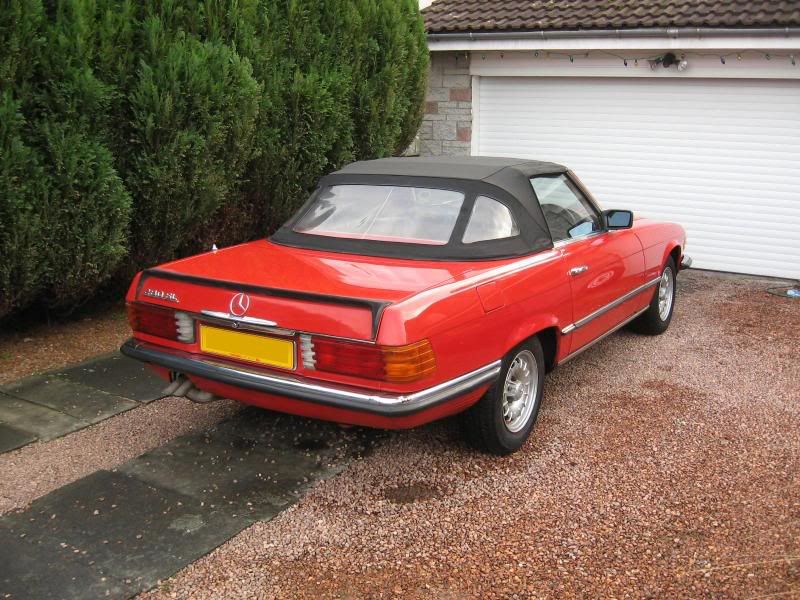
The bumper finished and fitted on the car: