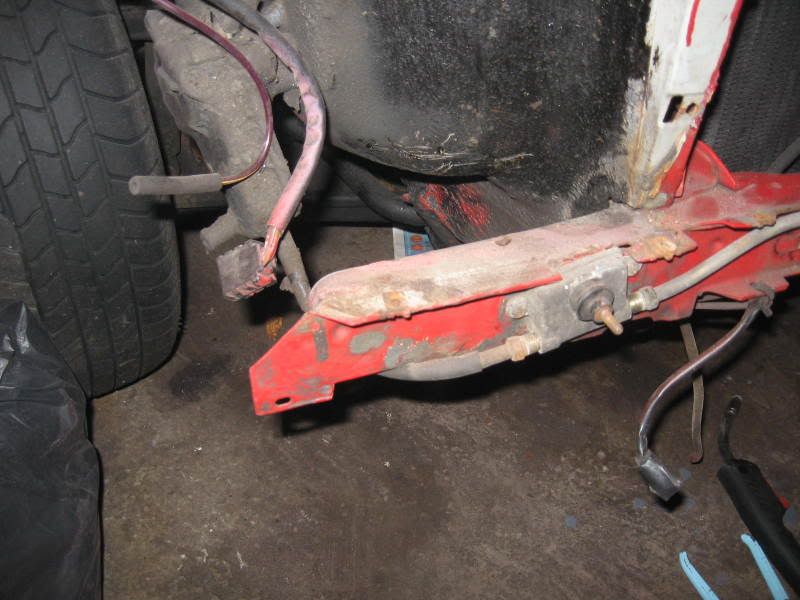
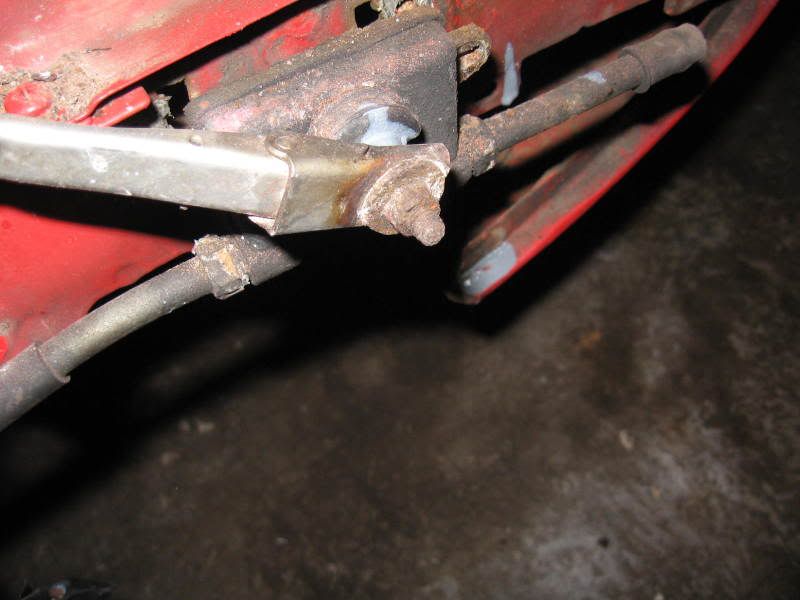
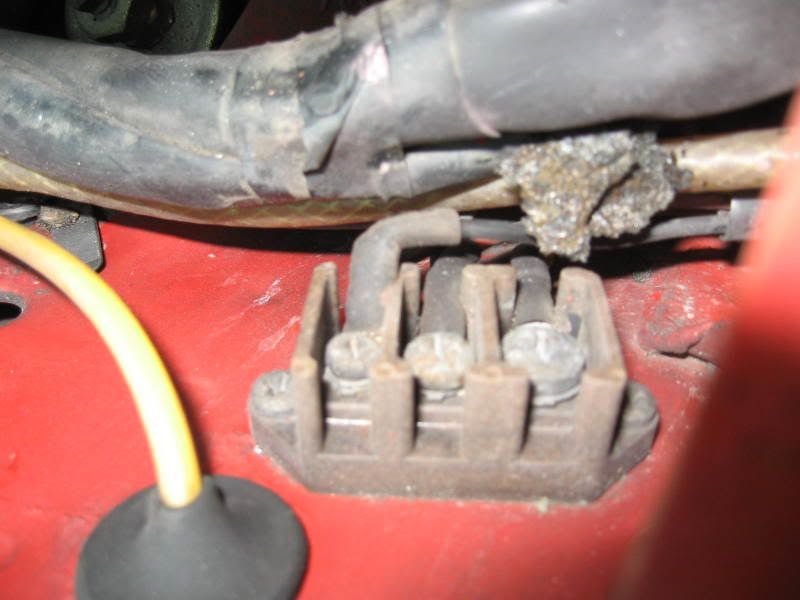
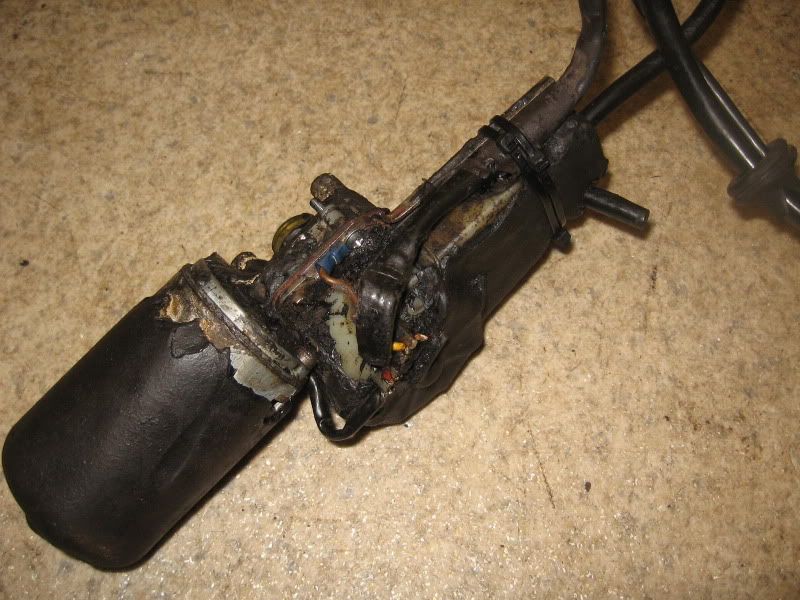
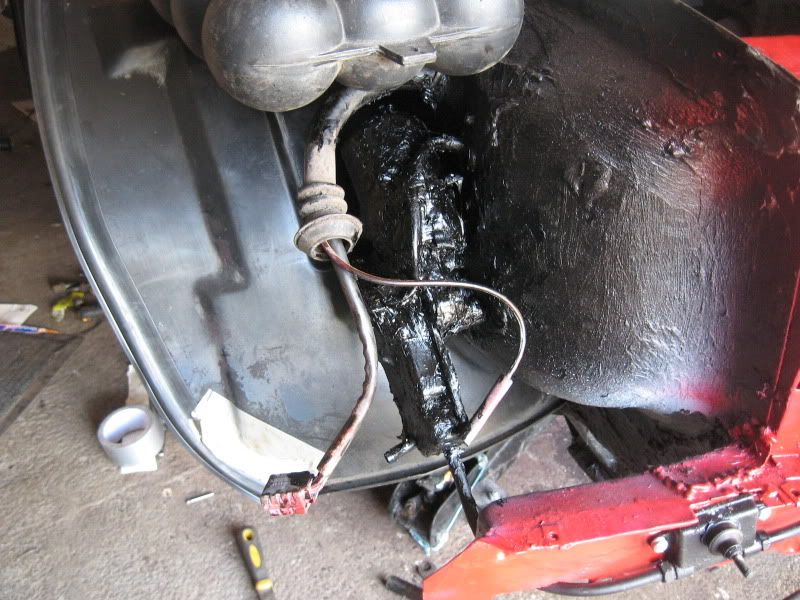
This is how it looked siezed on my car:

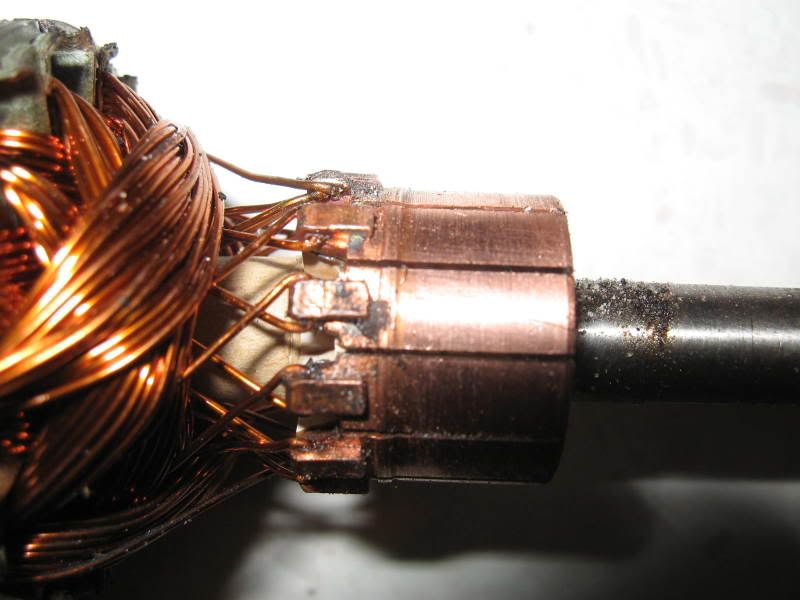
I removed the whole unit from the car and went to test it with Red to Pos but the motor just appeared dead - no sound or anything. even if it was siezed i'd expect to hear something happening, so I decieded to dismantle the motor. To do this you need to remove all the bolts that hold the plastic cover on and then an addition two Torx-20 bolts to dismantle the motor itself.
I then completely dismantled the whole unit and cleaned up all the contacts and now the motor works! All the bits of metal have been rust treated and are now shining like new!
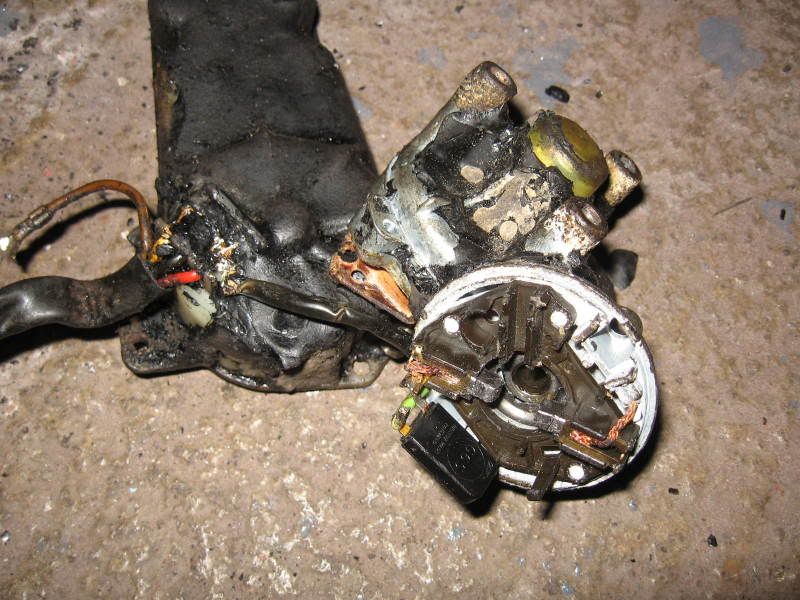

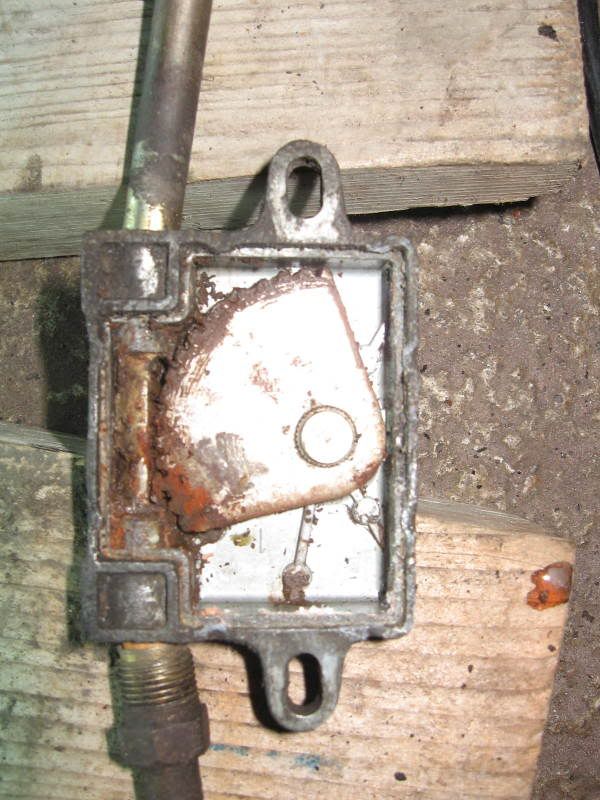
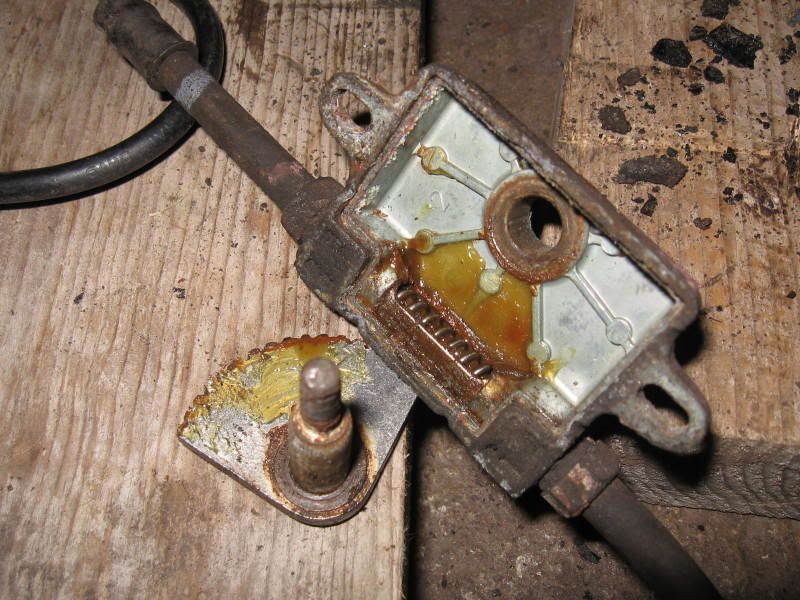
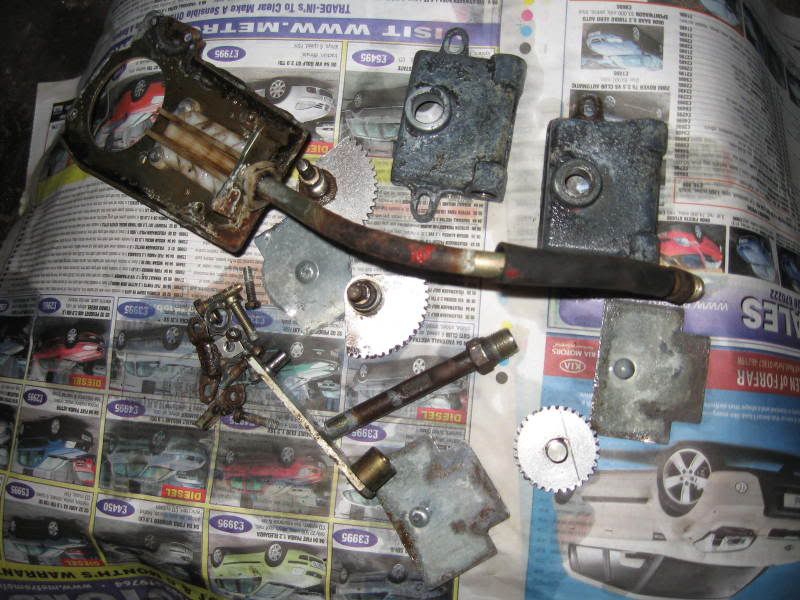
Some pics of how it was inside the mechanisms:
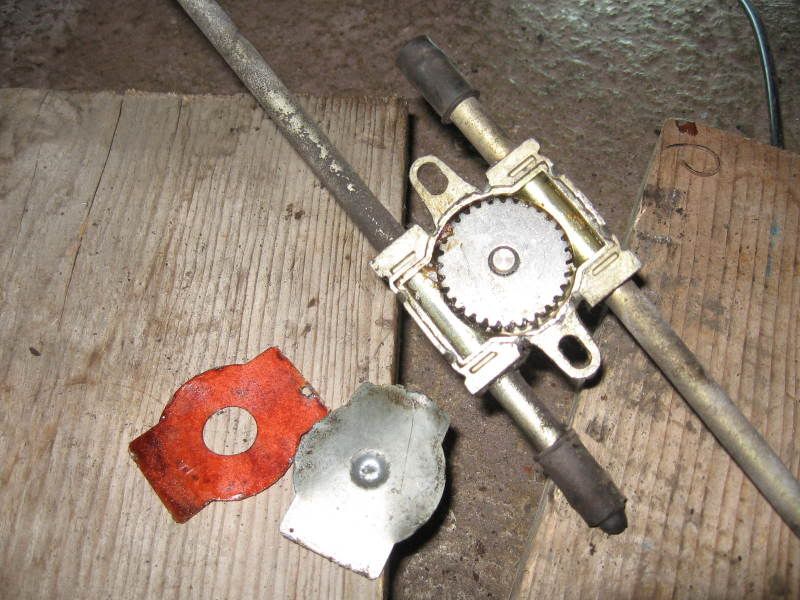
and after a degrease, some of the parts ready to be re-assembed (with new grease):
Once everything had been cleaned up and treated where necessary, the outer casings were primed and painted in satin black for a nice finish and then everything was re-attached to the car.
Re-assembing the motor part is relatively straight-forward if you've took it apart. Make sure you re-grease parts where needed. Also underseal may of covered the little holes in the motor casing that the nuts slide into in order for it to be bolted back together. i scratched my head over how they fitted back in for a while!!! scrape back the underseal and you will see a slot on each side of the motor casing.
Now, once the motor is back together and the earth is re-attached, along with the main (larger length) of cable attached, check it all moves correctly by connecting it direct to 12v.
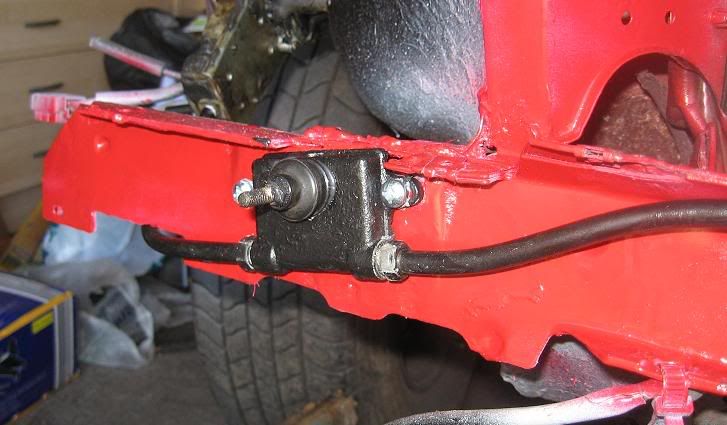
Now you can attach the motor back onto the inner wing with the 3 bolts, and feed the wires back through the hole into the engine bay:

again using direct to 12v you can adjust the cable to the correct extreeme to attach the driver's side wiper "cog" unit. make sure you angle the cog correctly so the wiper will move in the correct direction. dont screw it onto the crossmember yet though, or clip the back plate on. put a bit of grease in before you slide the cog in place.
once you are happy with the position etc (by testing again with 12v) add the centre pipe section and screw into the drivers side cog unit. cover the cable in grease 1st though. its important you *almost* tighten it back up but enough for correct placement on the crossmember but still allow the units to turn/move in their placement for now.
add the smaller cable into the centre pipe now. cover it in grease 1st. mine was chewed up a bit on the very end so i made it *just* fit so there was actually extra amount at the passenger side. you may/may not need to do this. the cable is NLA so no option.
then push the cog in. this is where it all went wrong for me - i put it in wrong and couldnt get the cog back out and ended up breaking the centre section so had to remove it and weld it back together :(. all is well now though.
check again with 12v that everything is moving well.
now add the passenger side cog unit and screw into centre place (to ensure correct placement on crossmember).
add the end piece. because i had the extra cable here i cut the end off where it was previously sheard.
check again with 12v that everything is moving well, and the wipers are going to move in the correct direction.
now, fill/cover with grease and fix the backs on the three cog units. you have to make sure they clip into the little lips at the back. i found slightly bending the back and then pushing down did the trick.
screw onto crossmember. i used new screws.
tighten all the pipe ends with 13mm spanner.
put the rubber end bits back on and check operation again with 12v.
The wiper rubbers have also been replaced. All that is left to do is give the motor a coating of underseal for protection.
Completed pictures:
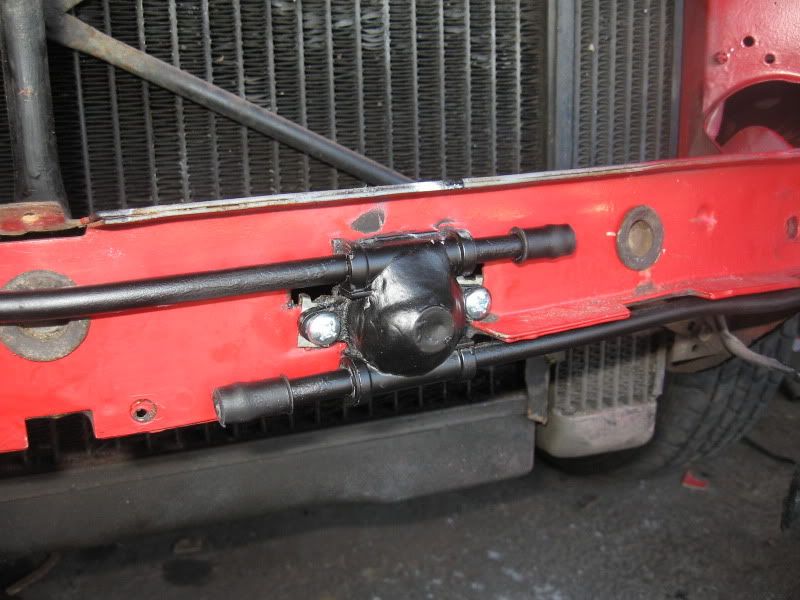
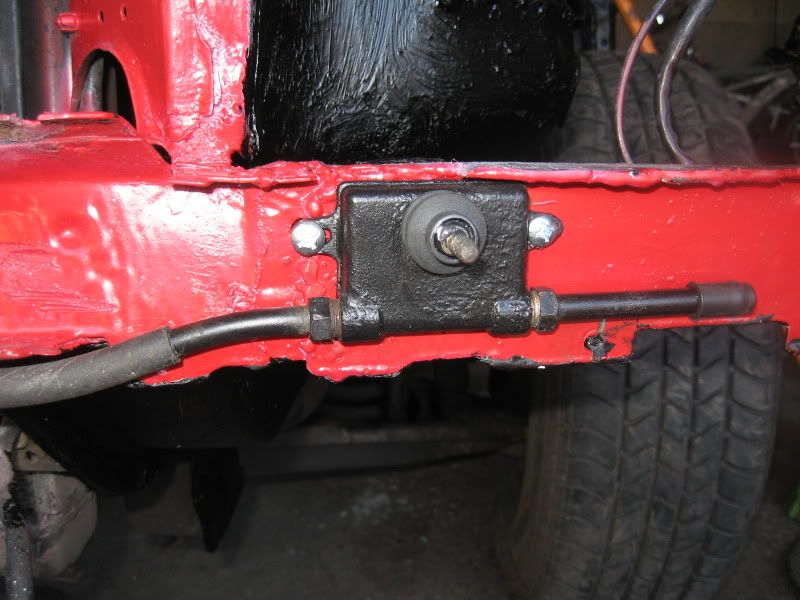

Finally, the motor waxoiled up and finished:

This comment has been removed by a blog administrator.
ReplyDeleteThis comment has been removed by the author.
ReplyDeleteThis comment has been removed by a blog administrator.
ReplyDeleteThis comment has been removed by a blog administrator.
ReplyDelete