Rear Spoiler Removal

The black rubbery rear spoiler was never fitted to a 280SL so mine was a retrofit by a previous owner. I had several issues with the spoiler:

- the weight of it made the boot drop down sometimes (original cars had stronger boot springs)
- cars with the spoiler as standard didnt have the chrome handle
- there was a small cut in the rubber on the spoiler
- i dont like the look of them


So, i decided to remove it. The spoiler was held on by the correct fittings which is 6 holes along the edge of the bootlid. After these were undone, the spoiler was removed from the car.

Unfortunatly, along with the expected holes I was also faced with some surface rust which needed removing and treating. I ground back around the area and treated the rust with a rust treatment gel. I then filled the holes with some "hard as steel" type putty, along with some standard bodywork filler:


The boot was then resprayed in Signal Red to finish the job:


Although I am still not 100% sure I prefer it without the spoiler, I think it gives it a cleaner look - and the boot now opens and stays open as intended!

Fitting Rear 3-Point Seat Belts

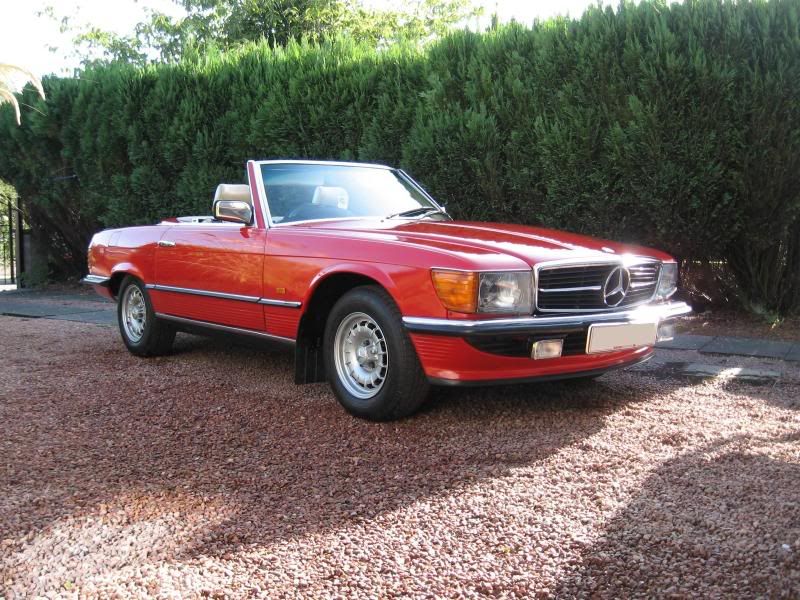
The SL came with a pair of lap belts in the optional rear seating of the car. I wanted to upgrade these to 3 point belts for safety reasons.

I enquired from various companies that offer seatbelt retrofit services to classic cars and discovered that two seperate companies fit the belts in the same way, and after seeing another 107 owner's car after a retrofit decided to install these.

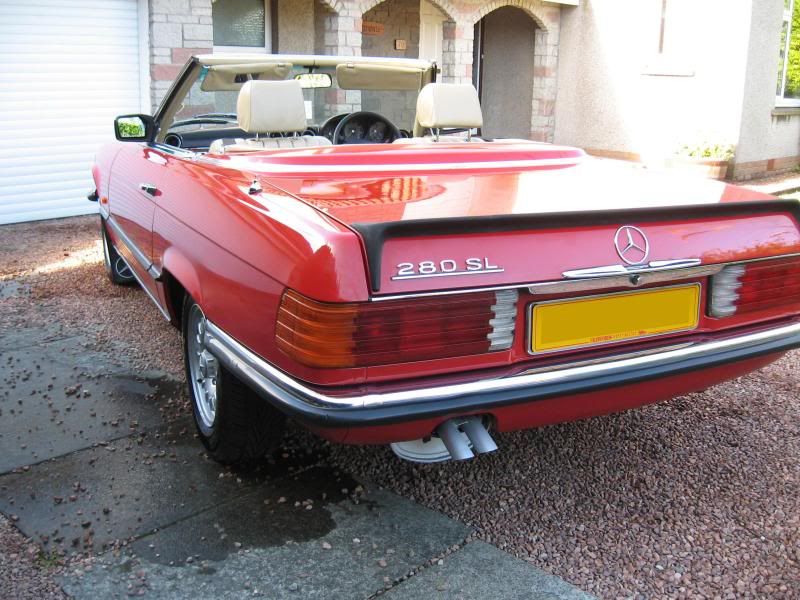
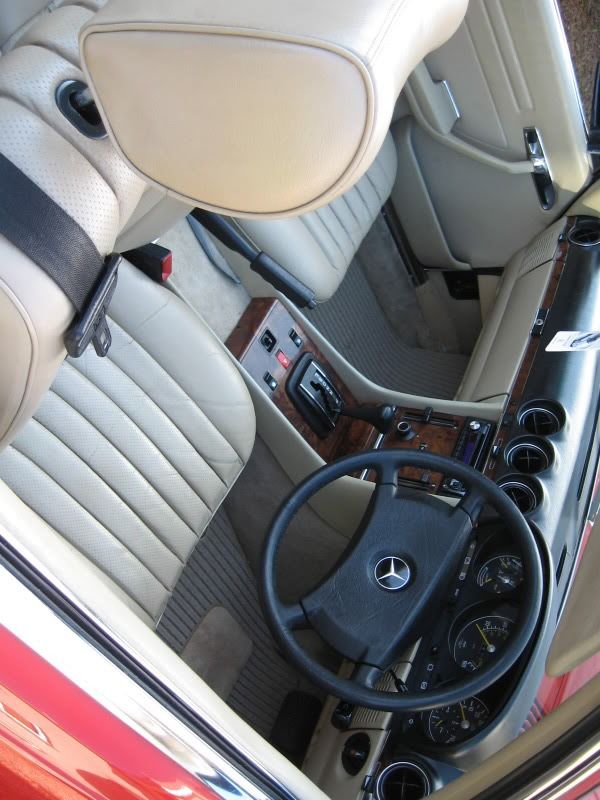
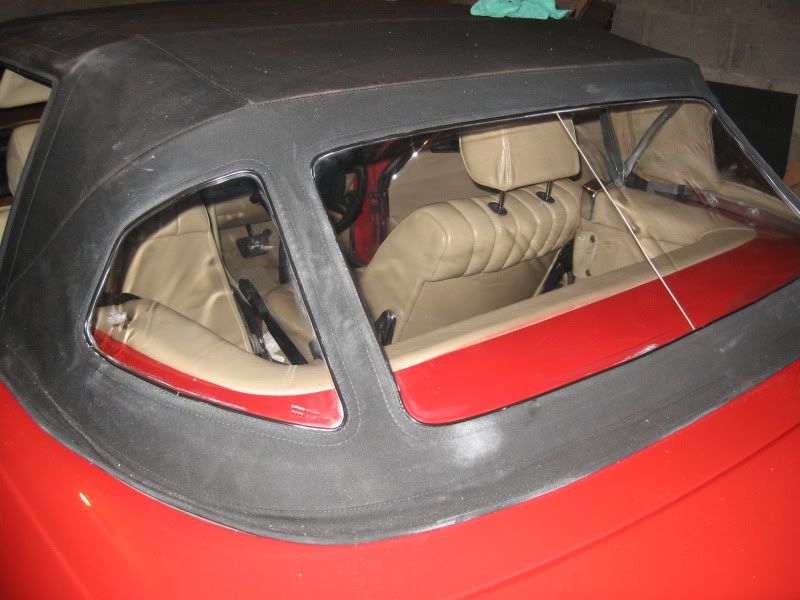
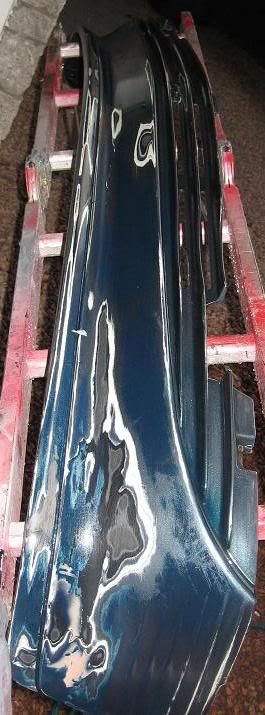
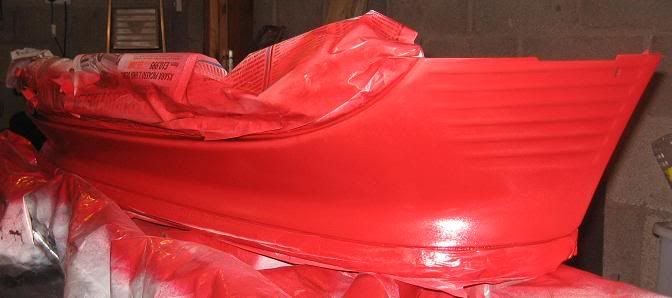
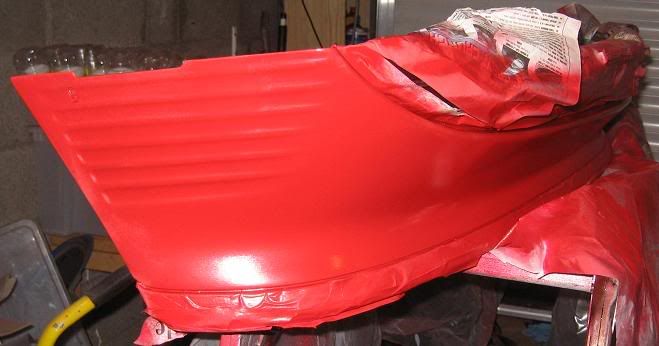
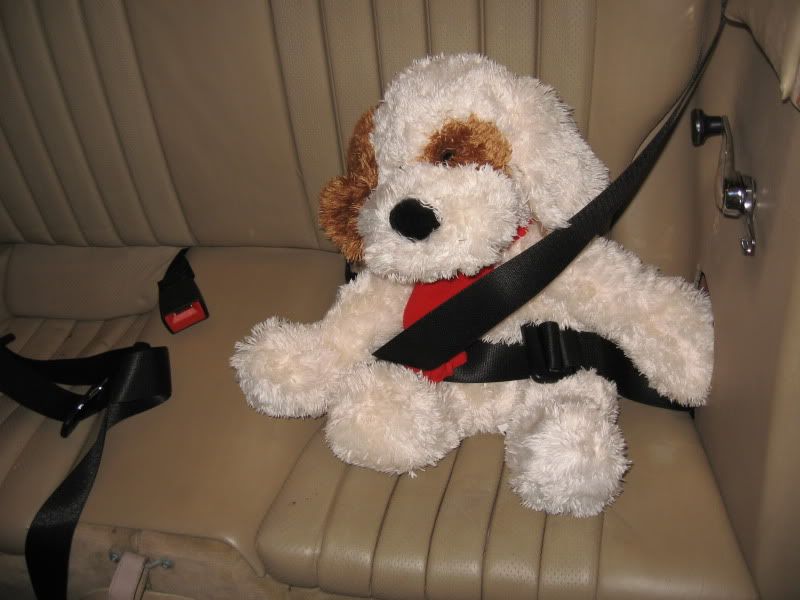
The belts I purchased came from http://www.bestautobits.com and are static 3 point belts. They are an excellent match for the original Mercedes items as can be seen in the photo below:


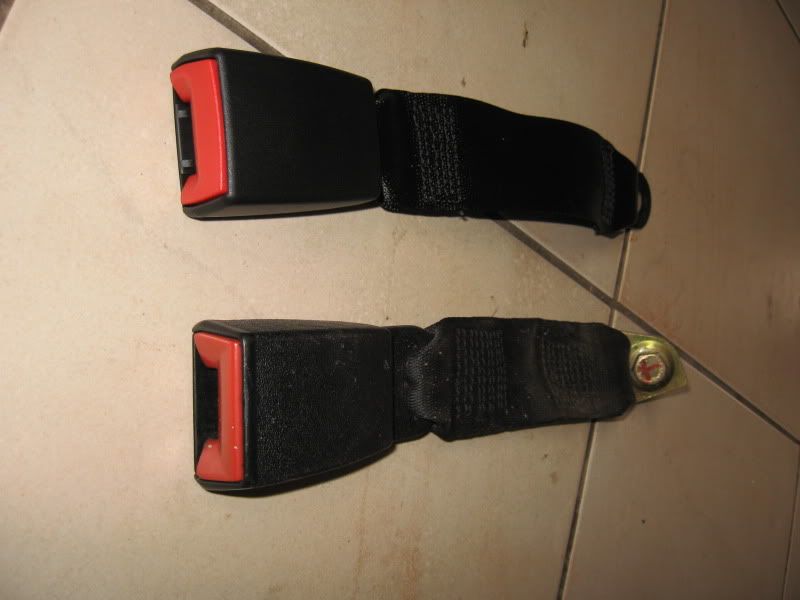
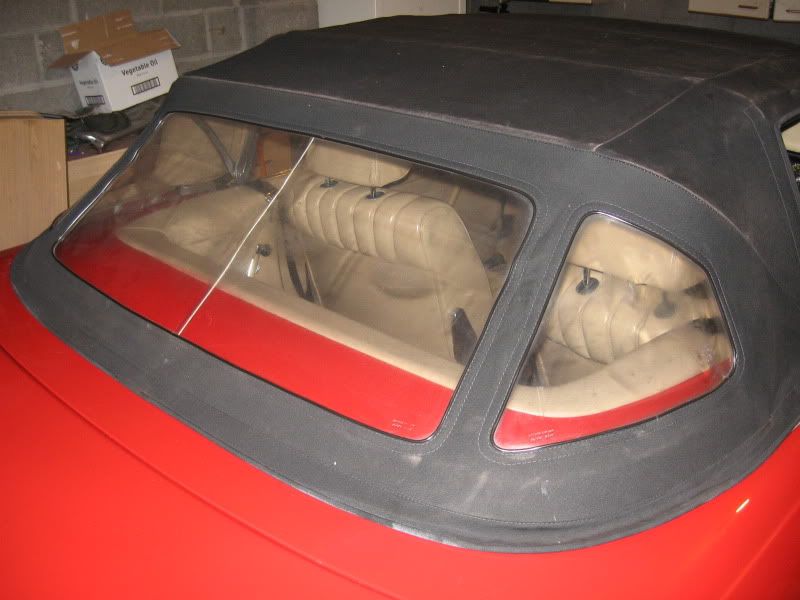
The belts need to be the static type, rather than interia because of the lack of space where the new 3rd mount goes in the soft top area, although it may be possible at a push, I considered static belts to be perfectly adequate and was confident to fit after seeing other installations of identical belts.

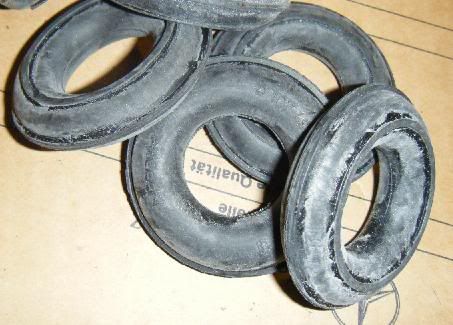
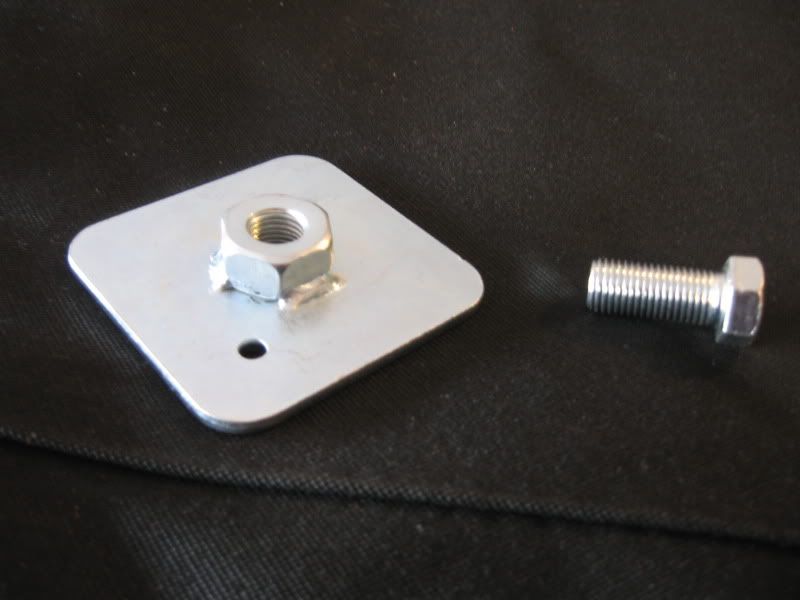
In addition to the belts, I also purchased a pair of FIA approved racing harness mounts used for track, race cars and the like. This is a thick piece of metal with the seatbelt bolt welded to it:


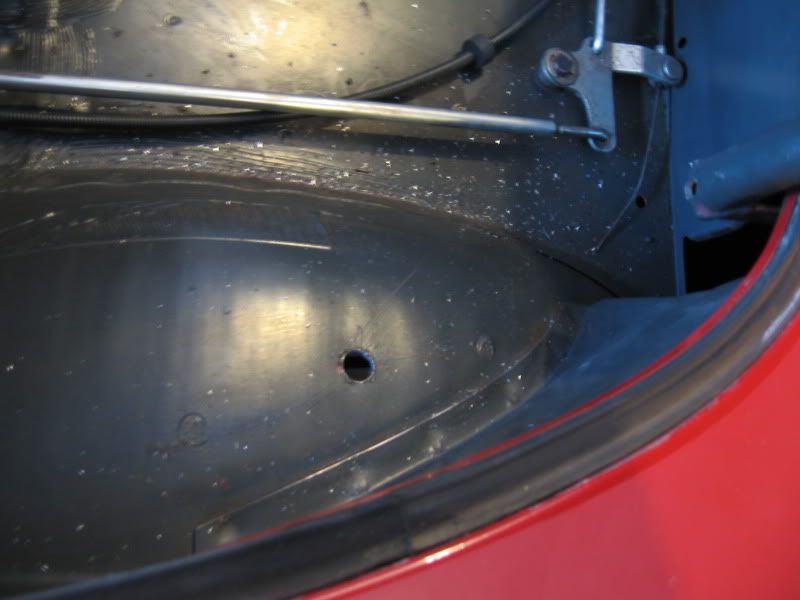
The position of the new mount needs to be checked for any rust, remove the rear wheel and check the whole area. Only once this has been verified should the mount hole be drilled.

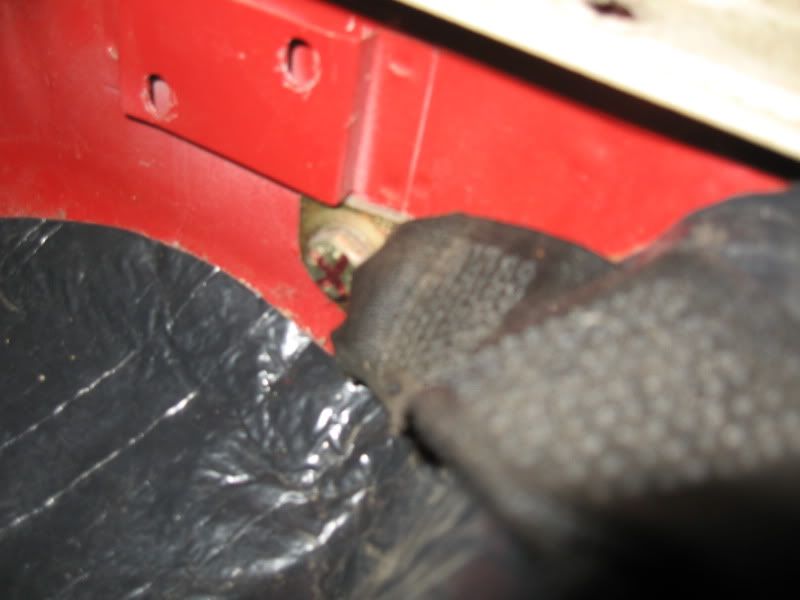
I removed the 2 seat bases and the centre trim that simply push into place. The seatback needs to be removed to access the lap belt mounts. This is held in with 4 bolts at the very bottom next to where the buckle mounts are (see pic below) - two bolts per side. Un pop the pop studs for the backing material and the seat back slides out of the car.

Now I removed the interior trim which is held on by 3 small screws and also removed the top chrome unit around where the front seat belt feeds into, alomng with the soft top release mechanism arm on the left hand side of the car. This allows the interior trim to be removed from the vehicle. I cleaned it up whilst out of the car.

Once all this is removed I could gain access to the original lap belt mounts. Starting with the buckle mount, I removed this from the car:


Note you can also see in this photo where the two mounts for the backrest are.

Then, starting with one side of the car 1st, I fitted the new belt using the existing bolts, washers. I used a washer from the new kit aswell, but it depends on the kit.

I then moved onto the side bolt:


This was removed in the same way. Once removed from the car I could feed the small plastic interior trim "window" from the belt to reuse on my new belt, making sure I fitted it the correct way so it will clip into the hole in the interior trim once all installed. At this point, i also plugged in the seatbelt to the buckle to ensure that I install it the correct way round without any twists. I then tightened the side mount up. I decided to have the adjustment at the lap part of the belt, but others do install it to the top area. I prefer the adjustment to be in the lap area as adjustment can be made without having to lift the soft top lid all the time. Downside is that the "slack" of the belt is in the way all the time, but I have just fed any slack under the seat squab.

Now its just the final (new) mount that needs installing.

I jacked up the car to create a large gap between the top of the wheel arch and the tyre. I then marked out the position where the belt mount should go based on some photos of another installation, and then drilled a small pilot hole though the arch. This was then finished off with the final hole - just enough to fit the bolt though. I then painted the bare metal of the hole:


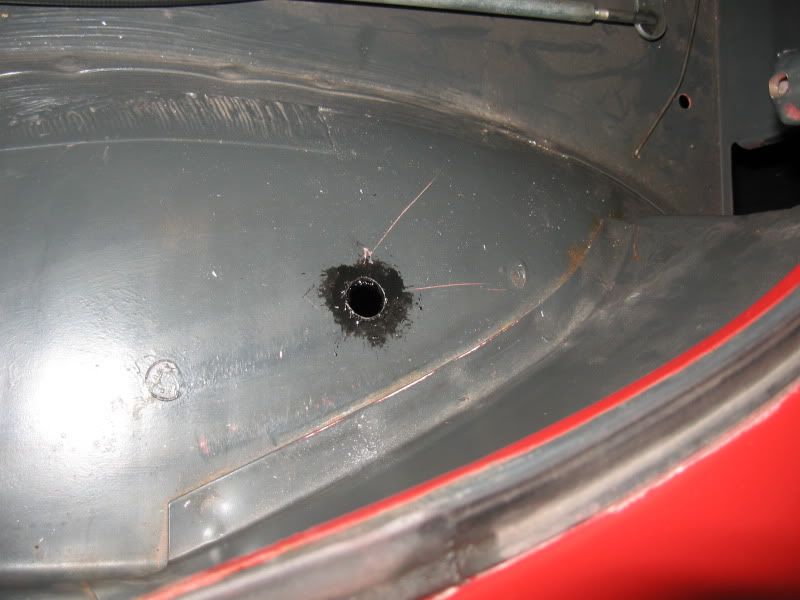
I put a smear of sealant on the mount prior to fitting along with some loctite. This should seal the area to stop any water from seeping though the underside of the wheel arch.

Using the bolts and washers that came with the new seatbelts, I fed these though the new hole and into the large harness mount on the underside of the wheel arch and tighten it up:


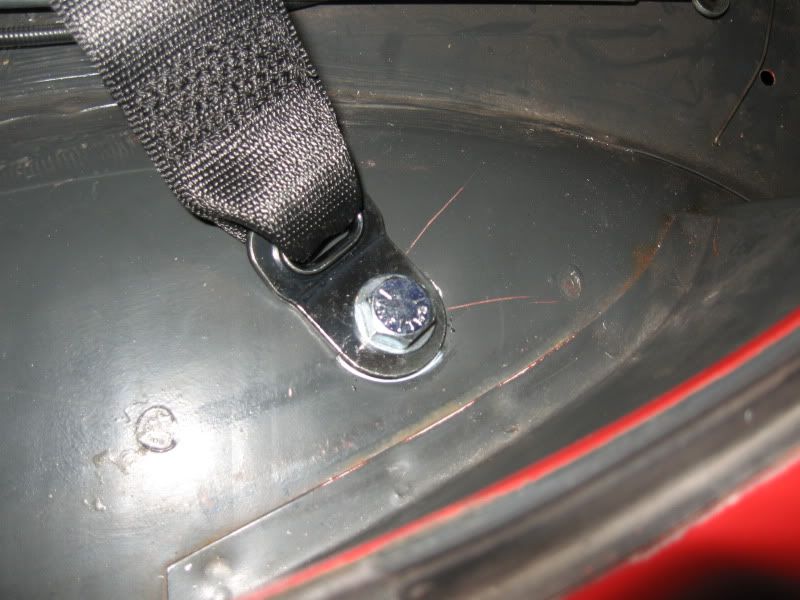
And finished off with the final black plastic top:


After double checking all torque levels of the belt mount bolts, I re-installed the interior trim and the black plastic trim for the belt needs clipped into the side part where the belt appears out of the interior trim:


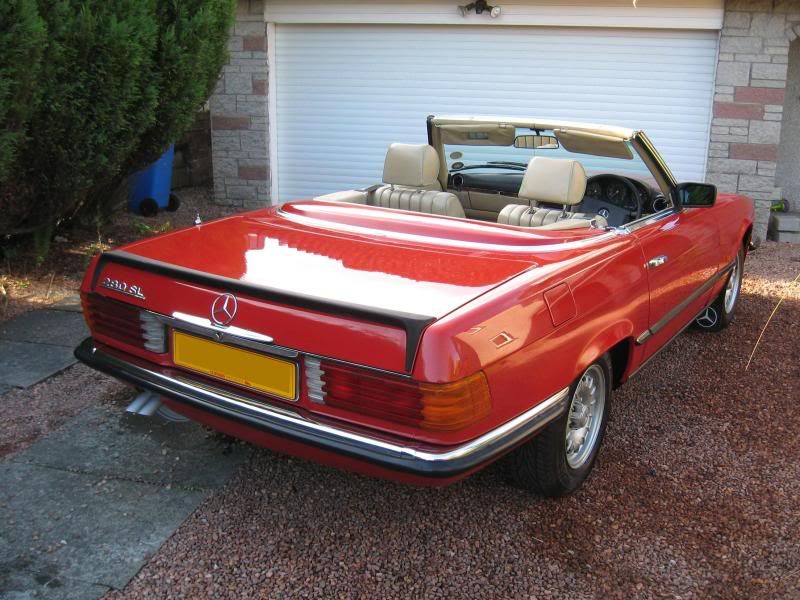
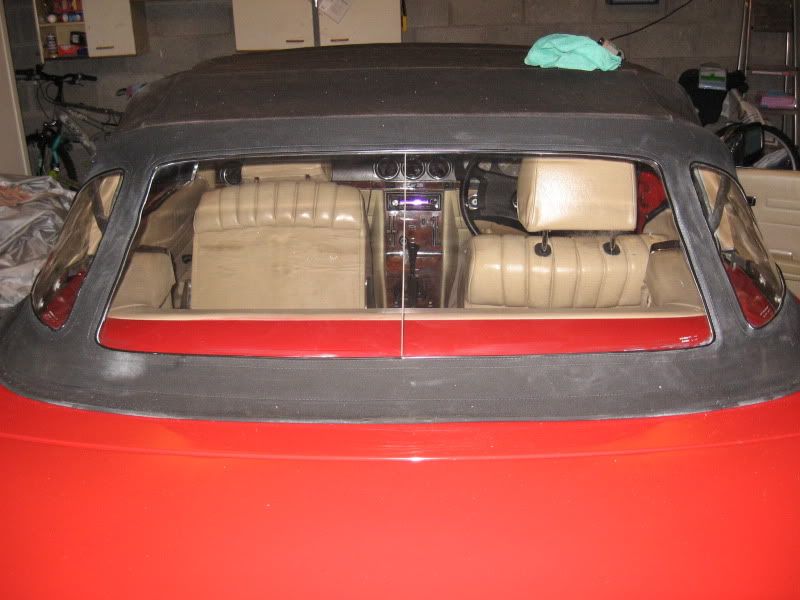
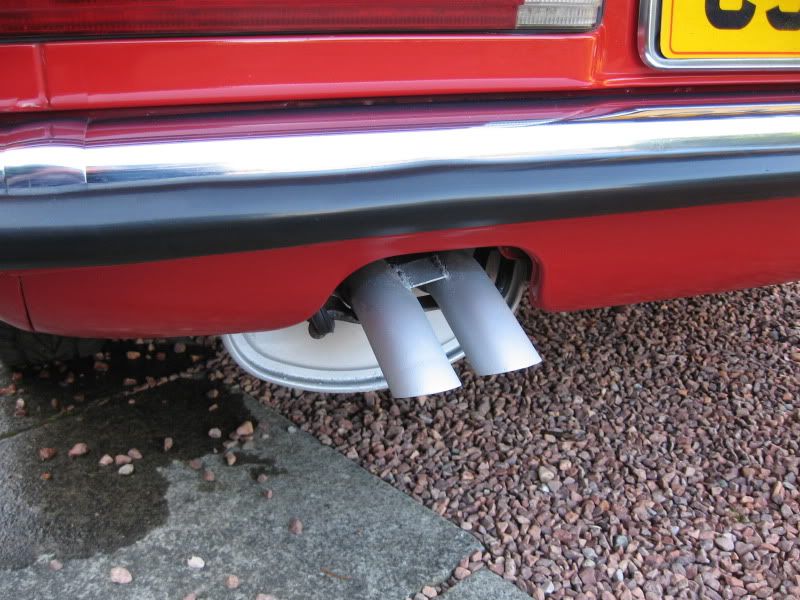
Very happy with the finished installation:


Note: I advise anyone who is unsure of this job to consult an experienced seat belt installer. There are many advertised nationwide who will supply and install seatbelts into your classic car.

Radiator Renovation

Since the car has been put back on the road this summer I've enjoyed many outings in it. However the radiator has always looked on its last legs, but I've not had time to fix it. Unfortunatly a couple of weeks ago, I was forced into it as it burst - luckly when I was less than a mile from my house so I was able to drive it back home before it overheated!

The radiator has always looked tired and has had a small leak since I've owned it - but never worried me due to me only using the car on nice weather days - I just top up the coolant every weekend if it needs it.

Anyway, after enquiring on the price of a brand new Mercedes radiator and quickly disgarding the option after finding out the price is £700 + VAT, I decided to look for a pattern part. These are avaialble for W123's (but no header tank) and for 500SL's but not for the 280 model. 2nd hand options were available but may of been just as bad as mine was before and cost the same as a recore would. So, a recore was the route I decided upon.

I made some enquiries and found a business in Edinburgh called ScotRad. They re-cored by existing radiator for just £115 inc VAT with just a 24 hour turnaround. The job is also guranteed for 12 months.

To remove the radiator i undid the numerous rubber pipes, undid the plastic couling and pulled it as far back as i could to gain access. After consulting with another 280SL owner I decided to attempt to leave the oil cooler in situ as the pipe bolts can break off if they have been on there for 20+ years untouched. My cooler looks brand new anyway so i didnt need to get this re-cored.

To do this, I removed the two bolts that connect the cooler to the rad (these actually sheered off as they were rusted) - so very quick to remove. Then all the pipes were removed via the jublee clips & also undid the ATF oil cooler pipes from the rad and bunge'd them up with some plastic lilo bungs.

The clips on either side then can be unclipped and the rad will lift out - because you're only taking out the rad and not the cooler, you'll need to apply pressure/mallet to the cooler (with care!) to keep the cooler in situ as the rad comes out - i sprayed some WD40 down there to aid it slide out.

Once it was out, I cleaned up all the rubber pipes and also a metal junction pipe. Upon re-install, i put some grease on both sides of the rad so it slid easier down into position and then via two new bolts i purchased (from homebase) i re-joined the cooler to the rad. All jubliee clips were renewed. the rubber pipes looked fine.

Took a couple of hours to remove and the same to refit.

I refilled with Comma Green coolant (50% with water) which is MB spec and a lot cheaper than the genuine stuff! I got 10 litres in there - i guess the other "lost" 2 litres must of been in the heater matrix, engine etc.

I also rechecked the ATF level and topped up a little with genuine MB ATF as some did come out of the pipes and i guess some was sitting in the rad so it was a little lower than usual.

This is how the radiator looked once burst:

Photobucket

Photobucket

Some of the pipes cleaned up with new jubliee clips:

Photobucket

Photobucket

Some photos of the car with the radiator removed:

Photobucket

Photobucket

And finally, the reconditioned radiator, ready to be refitted:

Photobucket

Photobucket

1st Phase Complete

1st phase of the restoration is complete & the car is now getting used on those summer days :)

Please continue to check back for updates as it will continue as a "rolling restoration" whilst I use it until next winter when it will be removed from the road again for further "in depth" work.

Some pictures:


Convertable Roof Renovation

The plastic windows on the convertable roof were not too bad but needed a good clean and had started to go milky:


Unfortunatly there are also a small nick on each side window. This isnt big enough to worry me for now, so I dont consider a new roof to be necessary.

In addition I also added new seals on the top of the window frame where the roof clips into. These seal the area to prevent water ingress and often degrade and not replaced - They are only a couple of pounds each from a Mercedes Dealer and well worth fitting. Part number A1076880097 and you need two:


I bought a product called Hindsight () after seeing adverts and recommendations in the various Mercedes magazines.

Hindsight is a polish you work into the cleaned plastic windows;


And this is the final result. A HUGE improvement & I'd recommend this product to anyone.


The actual fabric of the roof was also cleaned to a nice uniform black.

Exhaust

The previous MOT had an advisary warning of exhaust gasses leaking from around the manifold area. I had also noted this myself.

The Mercedes EPC (Electronic Parts Catalogue) shows a seal ring (N915035000008) in the incorrect place, or atleast a misleading position in the diagram (although it does correcly show that x2 are needed). It shows it as the connecting seal between the exhuast pipe and the collector pipe. It should, infact, be between the collector pipe and the engine manifold. Two seals are needed. These are copper crush seals.

The seals fit onto the downpipe as shown:


As access is diffult removing this piece (not very much room to turn spanners etc), and that two people are required to replace this (one person in the engine bay, holding a 13mm spanner on the bolt, whilst the other is under the car with a long ratchet on the nut), I decided to also purchase a set of new bolts:

N000931008244 – (x4) screw for collector pipe to manifold
N000933008168 – (x2) screw for exhaust to collector pipe

I reused the existing nuts.

I also applied (for good measure) some exhaust paste around the seal area and also in the join between the collector pipe and the exhaust pipe.

I took this opportunity to fit 4 new exhaust hangers on the car as the old ones were non-genuine and looked past their best; A1074920082 – (x4) exhaust hanger


All bolted back up and no more exhaust leaks :)

finally, the exhaust tip was given a coat of aluminum exhaust paint:


EDIT - Since posting this and using the car, a repair I did to this collector pipe has failed so I have had to fit a new collector pipe. This has made by exhaust 100% leak free.

Post '86 front spoiler

My car originally was fitted with the earlier black strip along the bottom of the car:


This was fitted to all cars up to 1985 before the final facelift of the 107 range.

The later front spoiler/air dam was added to update the look of the car. This simply bolts onto the front of the car replacing the old spoiler and the lower black grille pieces.

The spoiler, part number A1077900488 new from Mercedes comes in at £275 so I was lucky enough to find a good 2nd hand part that someone had retrofitted to an SLC. Unfortunatly, they had painted the whole item blue, whereas the correct colours should be black for the grille and lower lip and body coloured in the central area.

To begin with, I prepped the existing paint ready for new plastic primer to be sprayed on. This involved flatting old paint runs (I think the previous owner had quickly sprayed it whilst on the car):


Once it was primed all over, I fitted it to the front of the car to ensure correct fitment and make sure everything lined up correctly:


Then, I sprayed black flat stone chip guard onto the grille area and lower lip. This was then overpainted with matt black paint:


Once this was dry, the new black areas were masked off and the remaining area was painted in Signal Red:


Again, once dry, the spoiler was fitted to the car. All existing mountings were used. An additional bracket was fabricated to give support to the lower centre of the spoiler as this is missing from the panel behind on earlier cars:


Finished and on the car: