The radiator has always looked tired and has had a small leak since I've owned it - but never worried me due to me only using the car on nice weather days - I just top up the coolant every weekend if it needs it.
Anyway, after enquiring on the price of a brand new Mercedes radiator and quickly disgarding the option after finding out the price is £700 + VAT, I decided to look for a pattern part. These are avaialble for W123's (but no header tank) and for 500SL's but not for the 280 model. 2nd hand options were available but may of been just as bad as mine was before and cost the same as a recore would. So, a recore was the route I decided upon.
I made some enquiries and found a business in Edinburgh called ScotRad. They re-cored by existing radiator for just £115 inc VAT with just a 24 hour turnaround. The job is also guranteed for 12 months.
To remove the radiator i undid the numerous rubber pipes, undid the plastic couling and pulled it as far back as i could to gain access. After consulting with another 280SL owner I decided to attempt to leave the oil cooler in situ as the pipe bolts can break off if they have been on there for 20+ years untouched. My cooler looks brand new anyway so i didnt need to get this re-cored.
To do this, I removed the two bolts that connect the cooler to the rad (these actually sheered off as they were rusted) - so very quick to remove. Then all the pipes were removed via the jublee clips & also undid the ATF oil cooler pipes from the rad and bunge'd them up with some plastic lilo bungs.
The clips on either side then can be unclipped and the rad will lift out - because you're only taking out the rad and not the cooler, you'll need to apply pressure/mallet to the cooler (with care!) to keep the cooler in situ as the rad comes out - i sprayed some WD40 down there to aid it slide out.
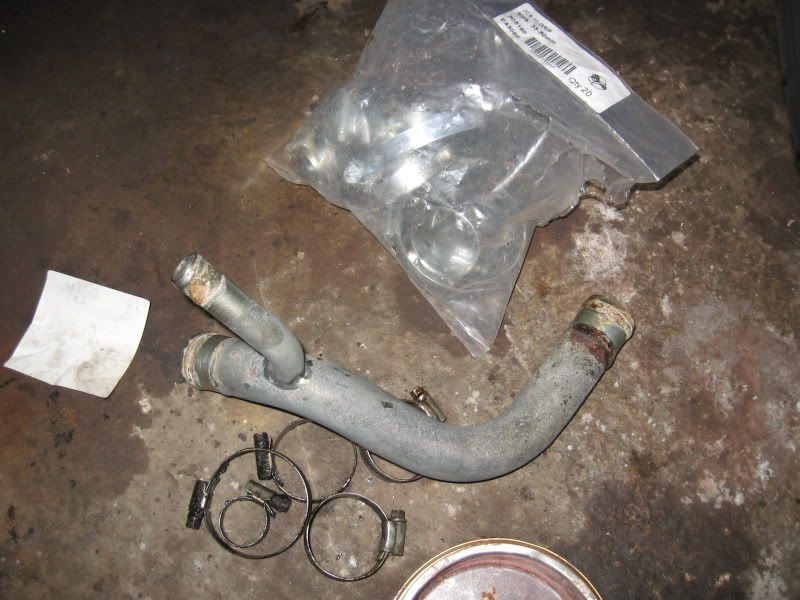
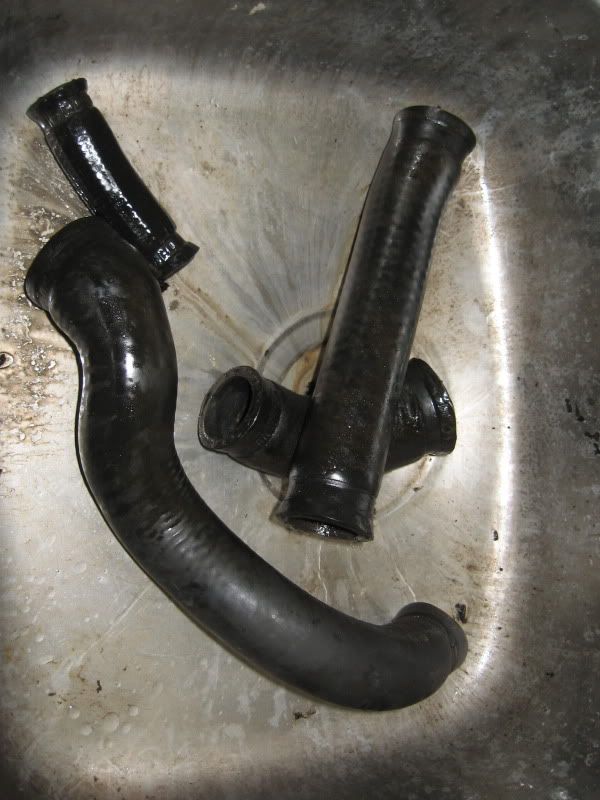
Once it was out, I cleaned up all the rubber pipes and also a metal junction pipe. Upon re-install, i put some grease on both sides of the rad so it slid easier down into position and then via two new bolts i purchased (from homebase) i re-joined the cooler to the rad. All jubliee clips were renewed. the rubber pipes looked fine.
Took a couple of hours to remove and the same to refit.
I refilled with Comma Green coolant (50% with water) which is MB spec and a lot cheaper than the genuine stuff! I got 10 litres in there - i guess the other "lost" 2 litres must of been in the heater matrix, engine etc.
I also rechecked the ATF level and topped up a little with genuine MB ATF as some did come out of the pipes and i guess some was sitting in the rad so it was a little lower than usual.
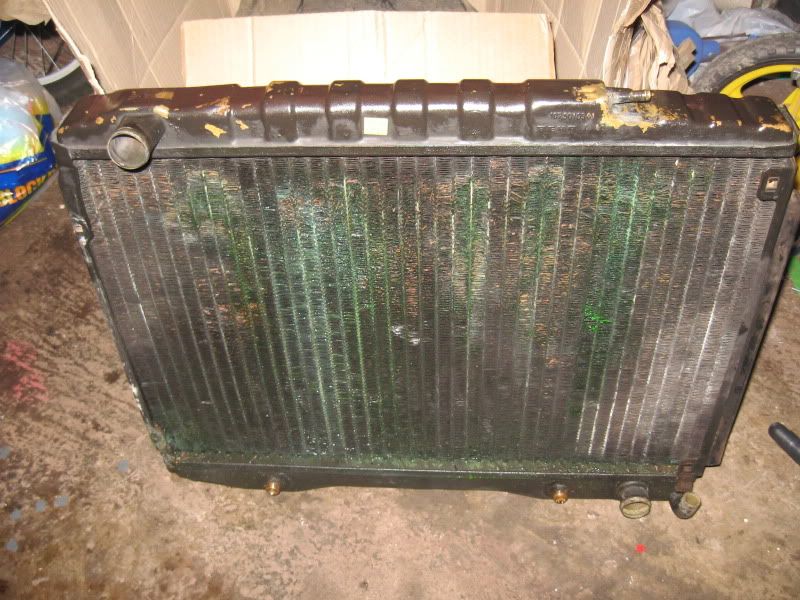
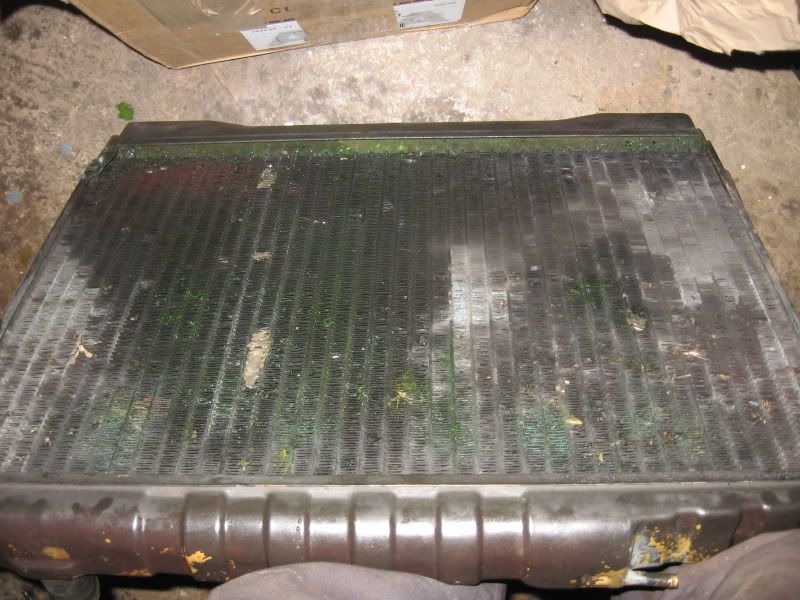
This is how the radiator looked once burst:
Some of the pipes cleaned up with new jubliee clips:
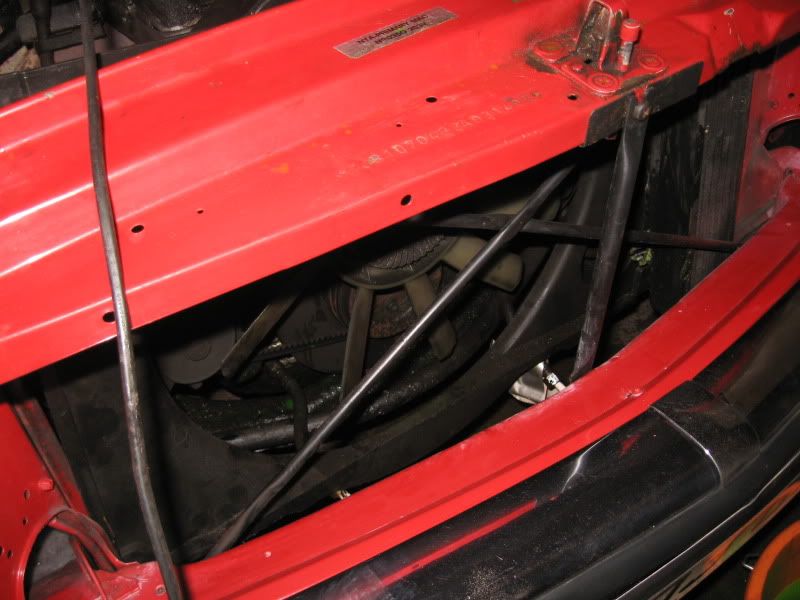
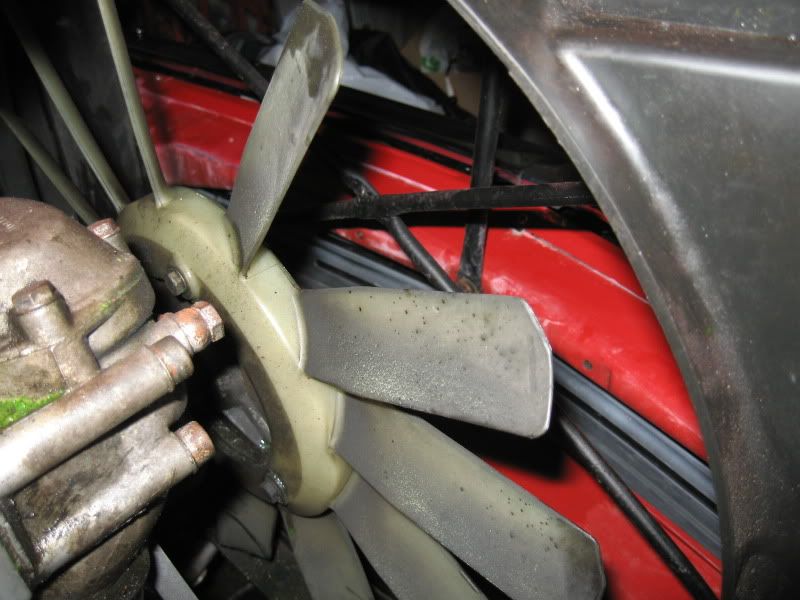
Some photos of the car with the radiator removed:
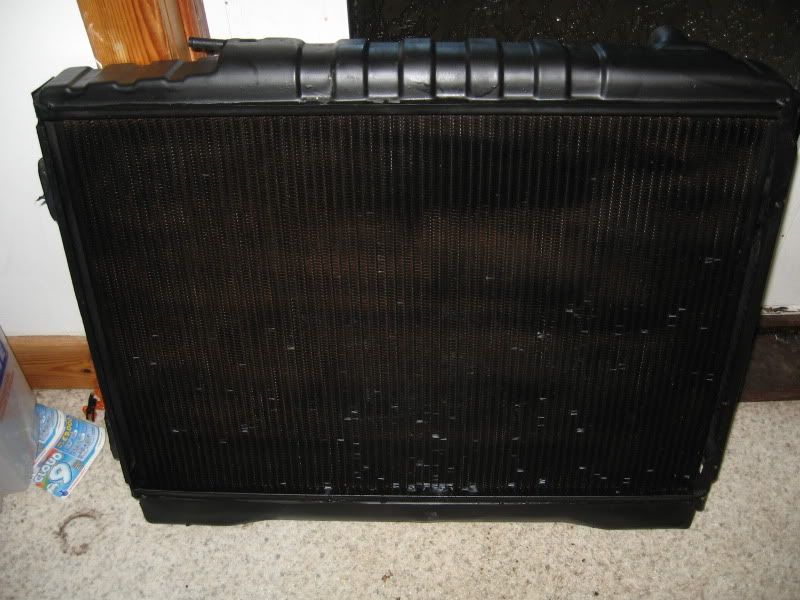
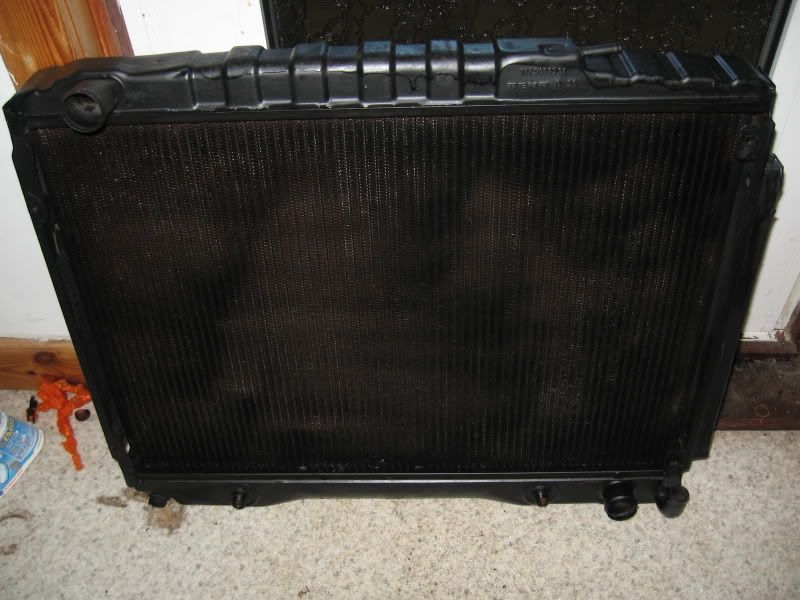
And finally, the reconditioned radiator, ready to be refitted:

No comments:
Post a Comment